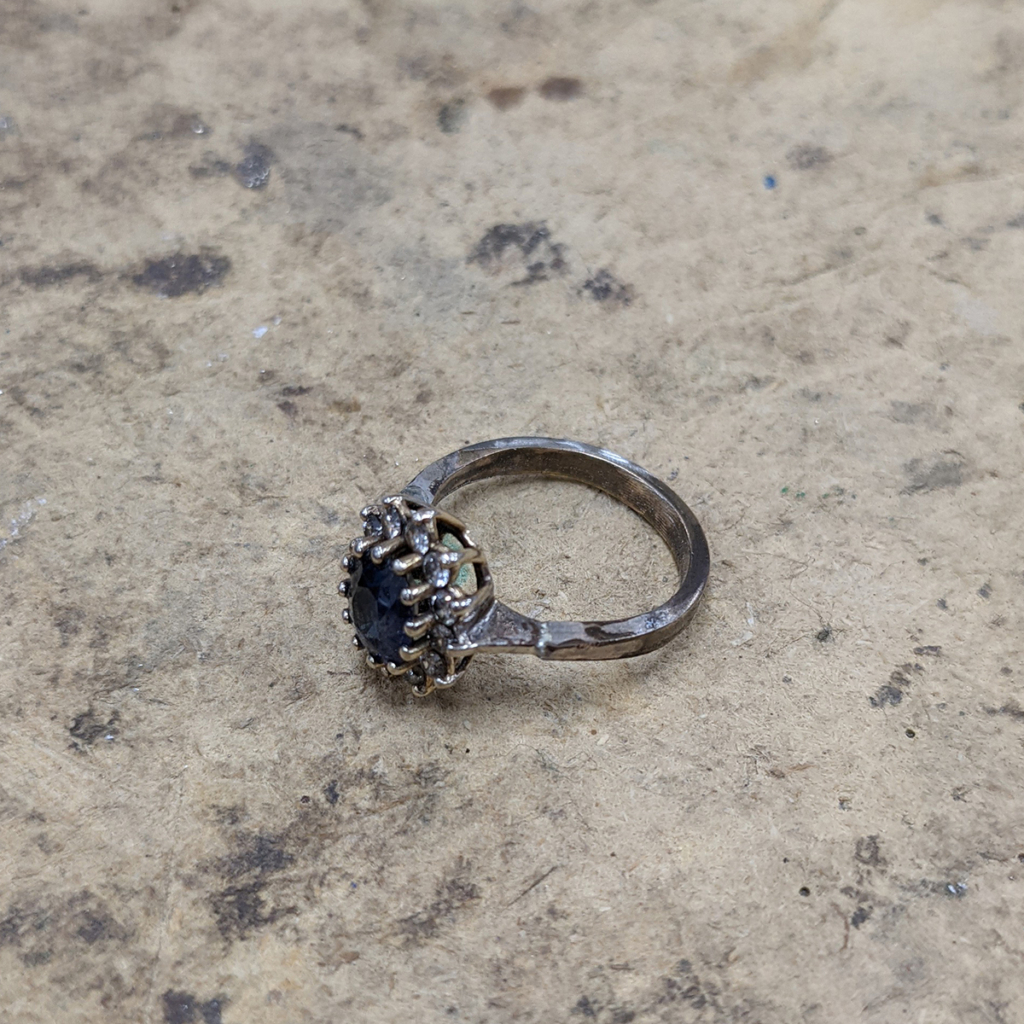
Over time the metal on your rings is worn away by daily wear. Over several decades this can lead to a very thin ring (or shank as they are known)! Sometimes rings get caught on things and break, or are damaged in other ways necessitating what we call a re-shanking.
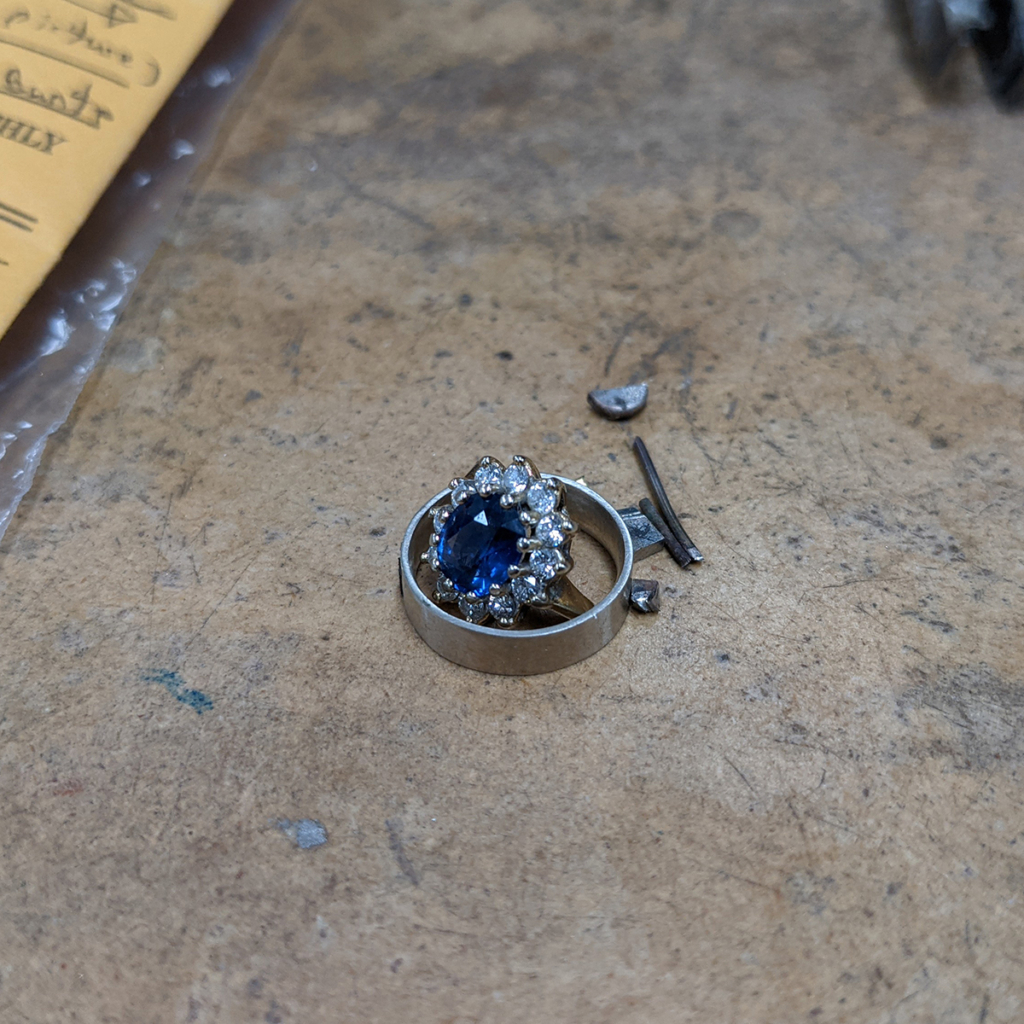
Recently we had a ring come in which needed a Full Shank done. The old broken shank was removed, and the new metal was gathered in preparation for repair.
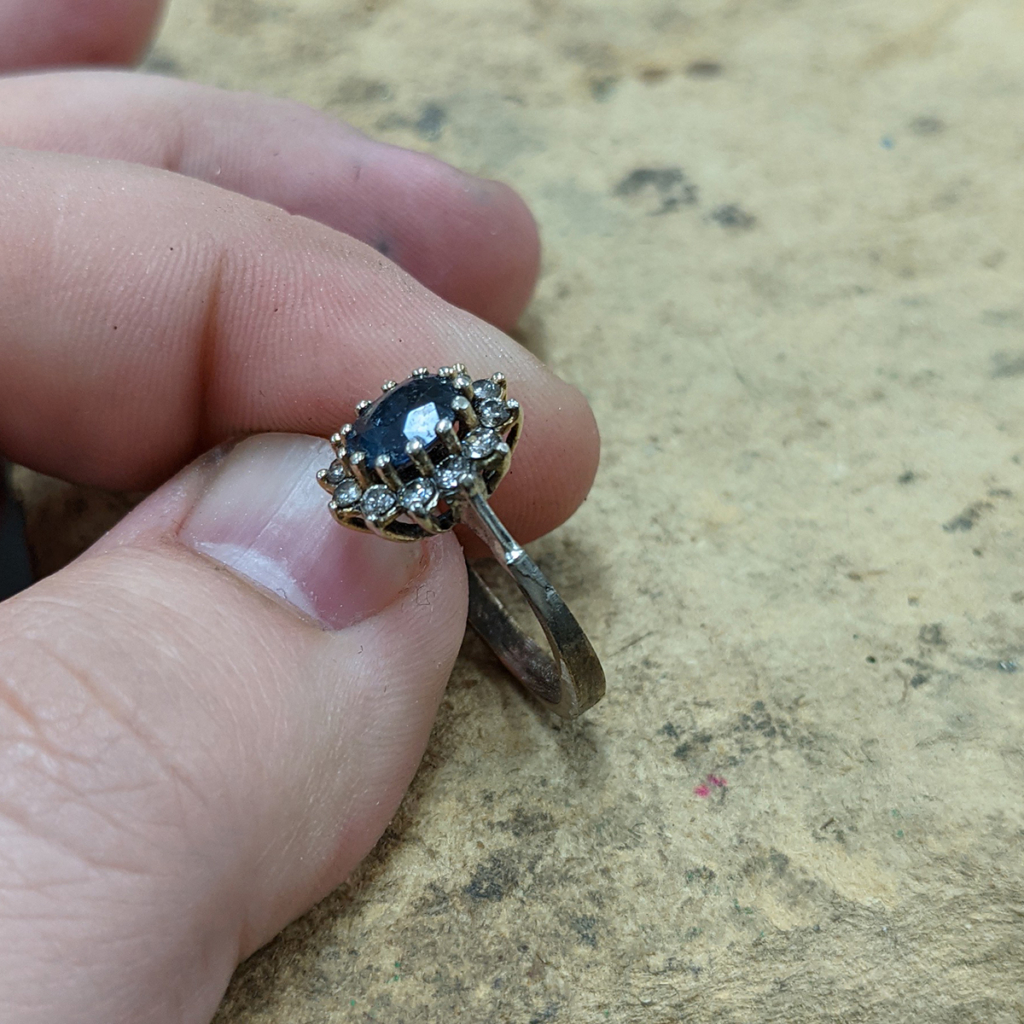
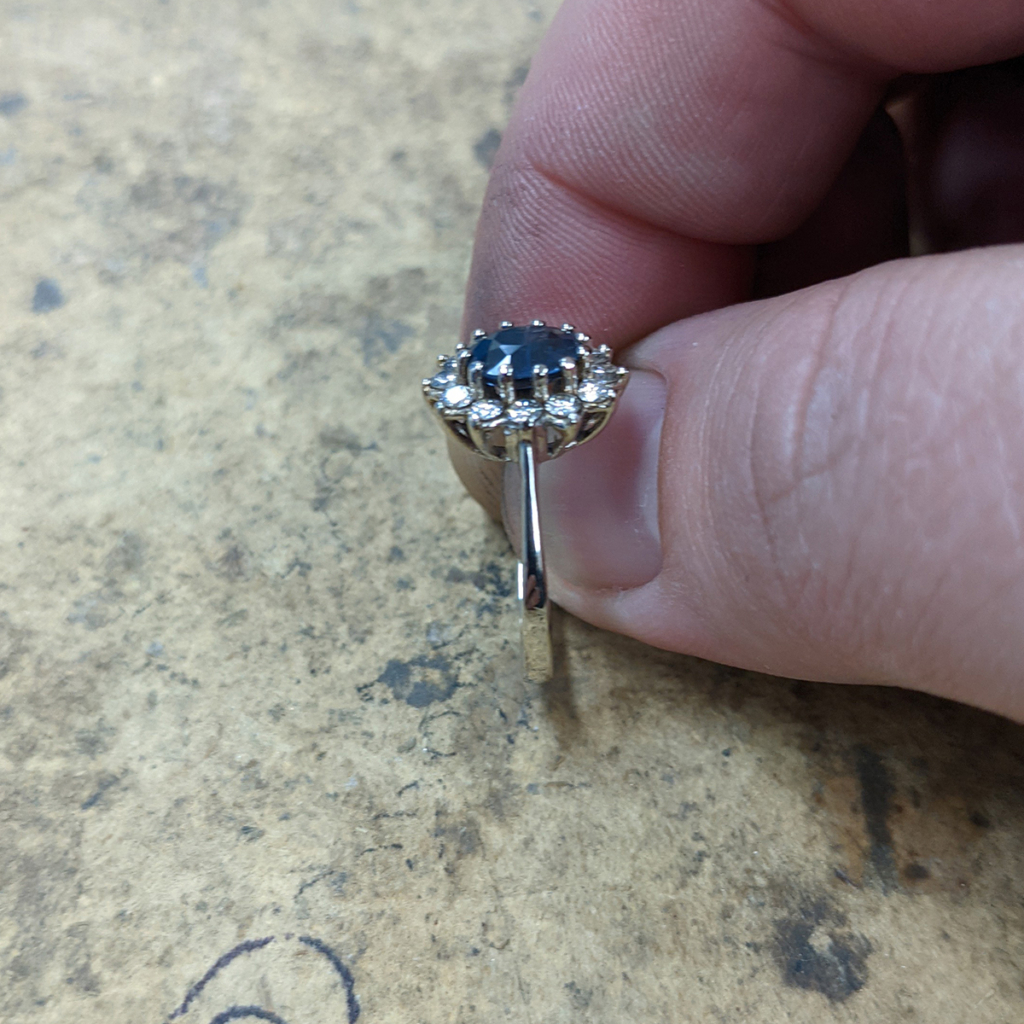
The new shank was formed and soldered onto the original head of the ring, thought at this stage it is much to wide and needs refinement.
Using files, sanding discs, and emery paper, the dimensions are refined and made to match the existing portion of the original ring. These are blended together before polishing.
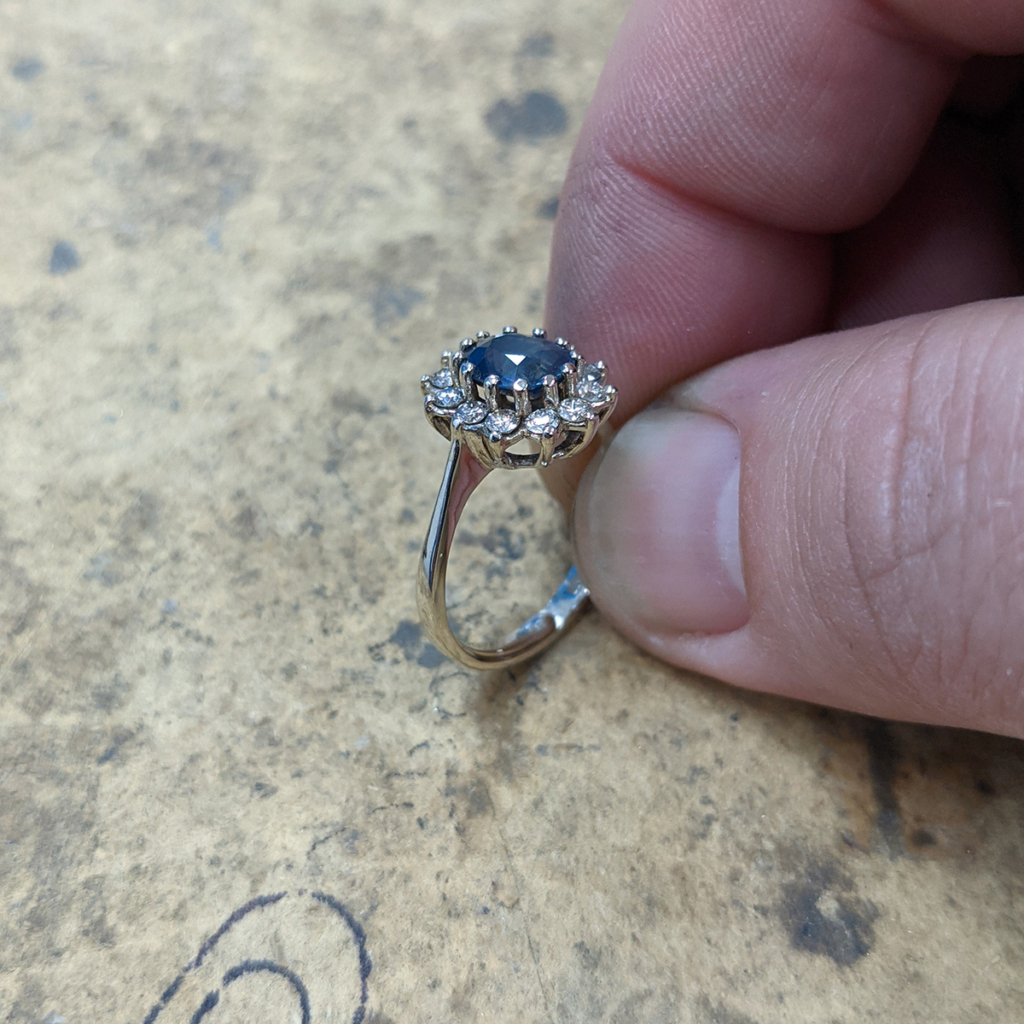
Finally the ring is polished and everything checked to make sure the match is identical! And voila, a ring reborn!
Here’s a little peak at something I’ve been working on.
This gives you an idea of the processes involved when turning a beach find into a precious metal wearable object via the lost wax casting method, which is a method of casting that has been used for millennia. It’s like a delicious thread connecting us back to the ancient Egyptians, Sumerians, and beyond.
I found this wonderful little shell on my last trip to Nova Scotia, which inevitably involves a wander on a beach at some point every day, or I haven’t done it right.
Unfortunately I didn’t take a photo of it before making the silicon mold *slap on the hand* , but you get the idea…
Once you make a silicon mold, you have to cut through the whole thing with a sharp blade, which, if it is delicate, usually means the object gets destroyed in the process. More often than not, so do parts of your fingers.
wax multiples
silicon mold
Once you have multiples in wax, you make a WAX TREE! You set this wax tree in a steel flask, mix up a special plaster, pour that carefully over your wax tree, and VOILA, you have a plaster mold.
That plaster mold is left to cure overnight, and once it’s cured the wax positives are melted out in what’s called a BURNOUT (that’s the professional term). Then the plaster mold is placed in a kiln and brought up to about 900 degrees F, so the molten metal doesn’t get “shocked”, or contract because of the temperature difference, and ruin your cast in one foul swoop.
Once the mold is hot enough, the flask/mold is fitted into place on the casting arm in the centrifugal casting machine, while the metal grain is being heated in the crucible. Once the metal is molten (for silver we’re talking about 1700 degrees F), the lock is released and the metal is shot into the mold as the casting arm spins away, and you send a prayer to the Divine Ones for a successful cast (but really it’s the culmination of all that damn fine effort and care you put into it, step by step, to get to this point).
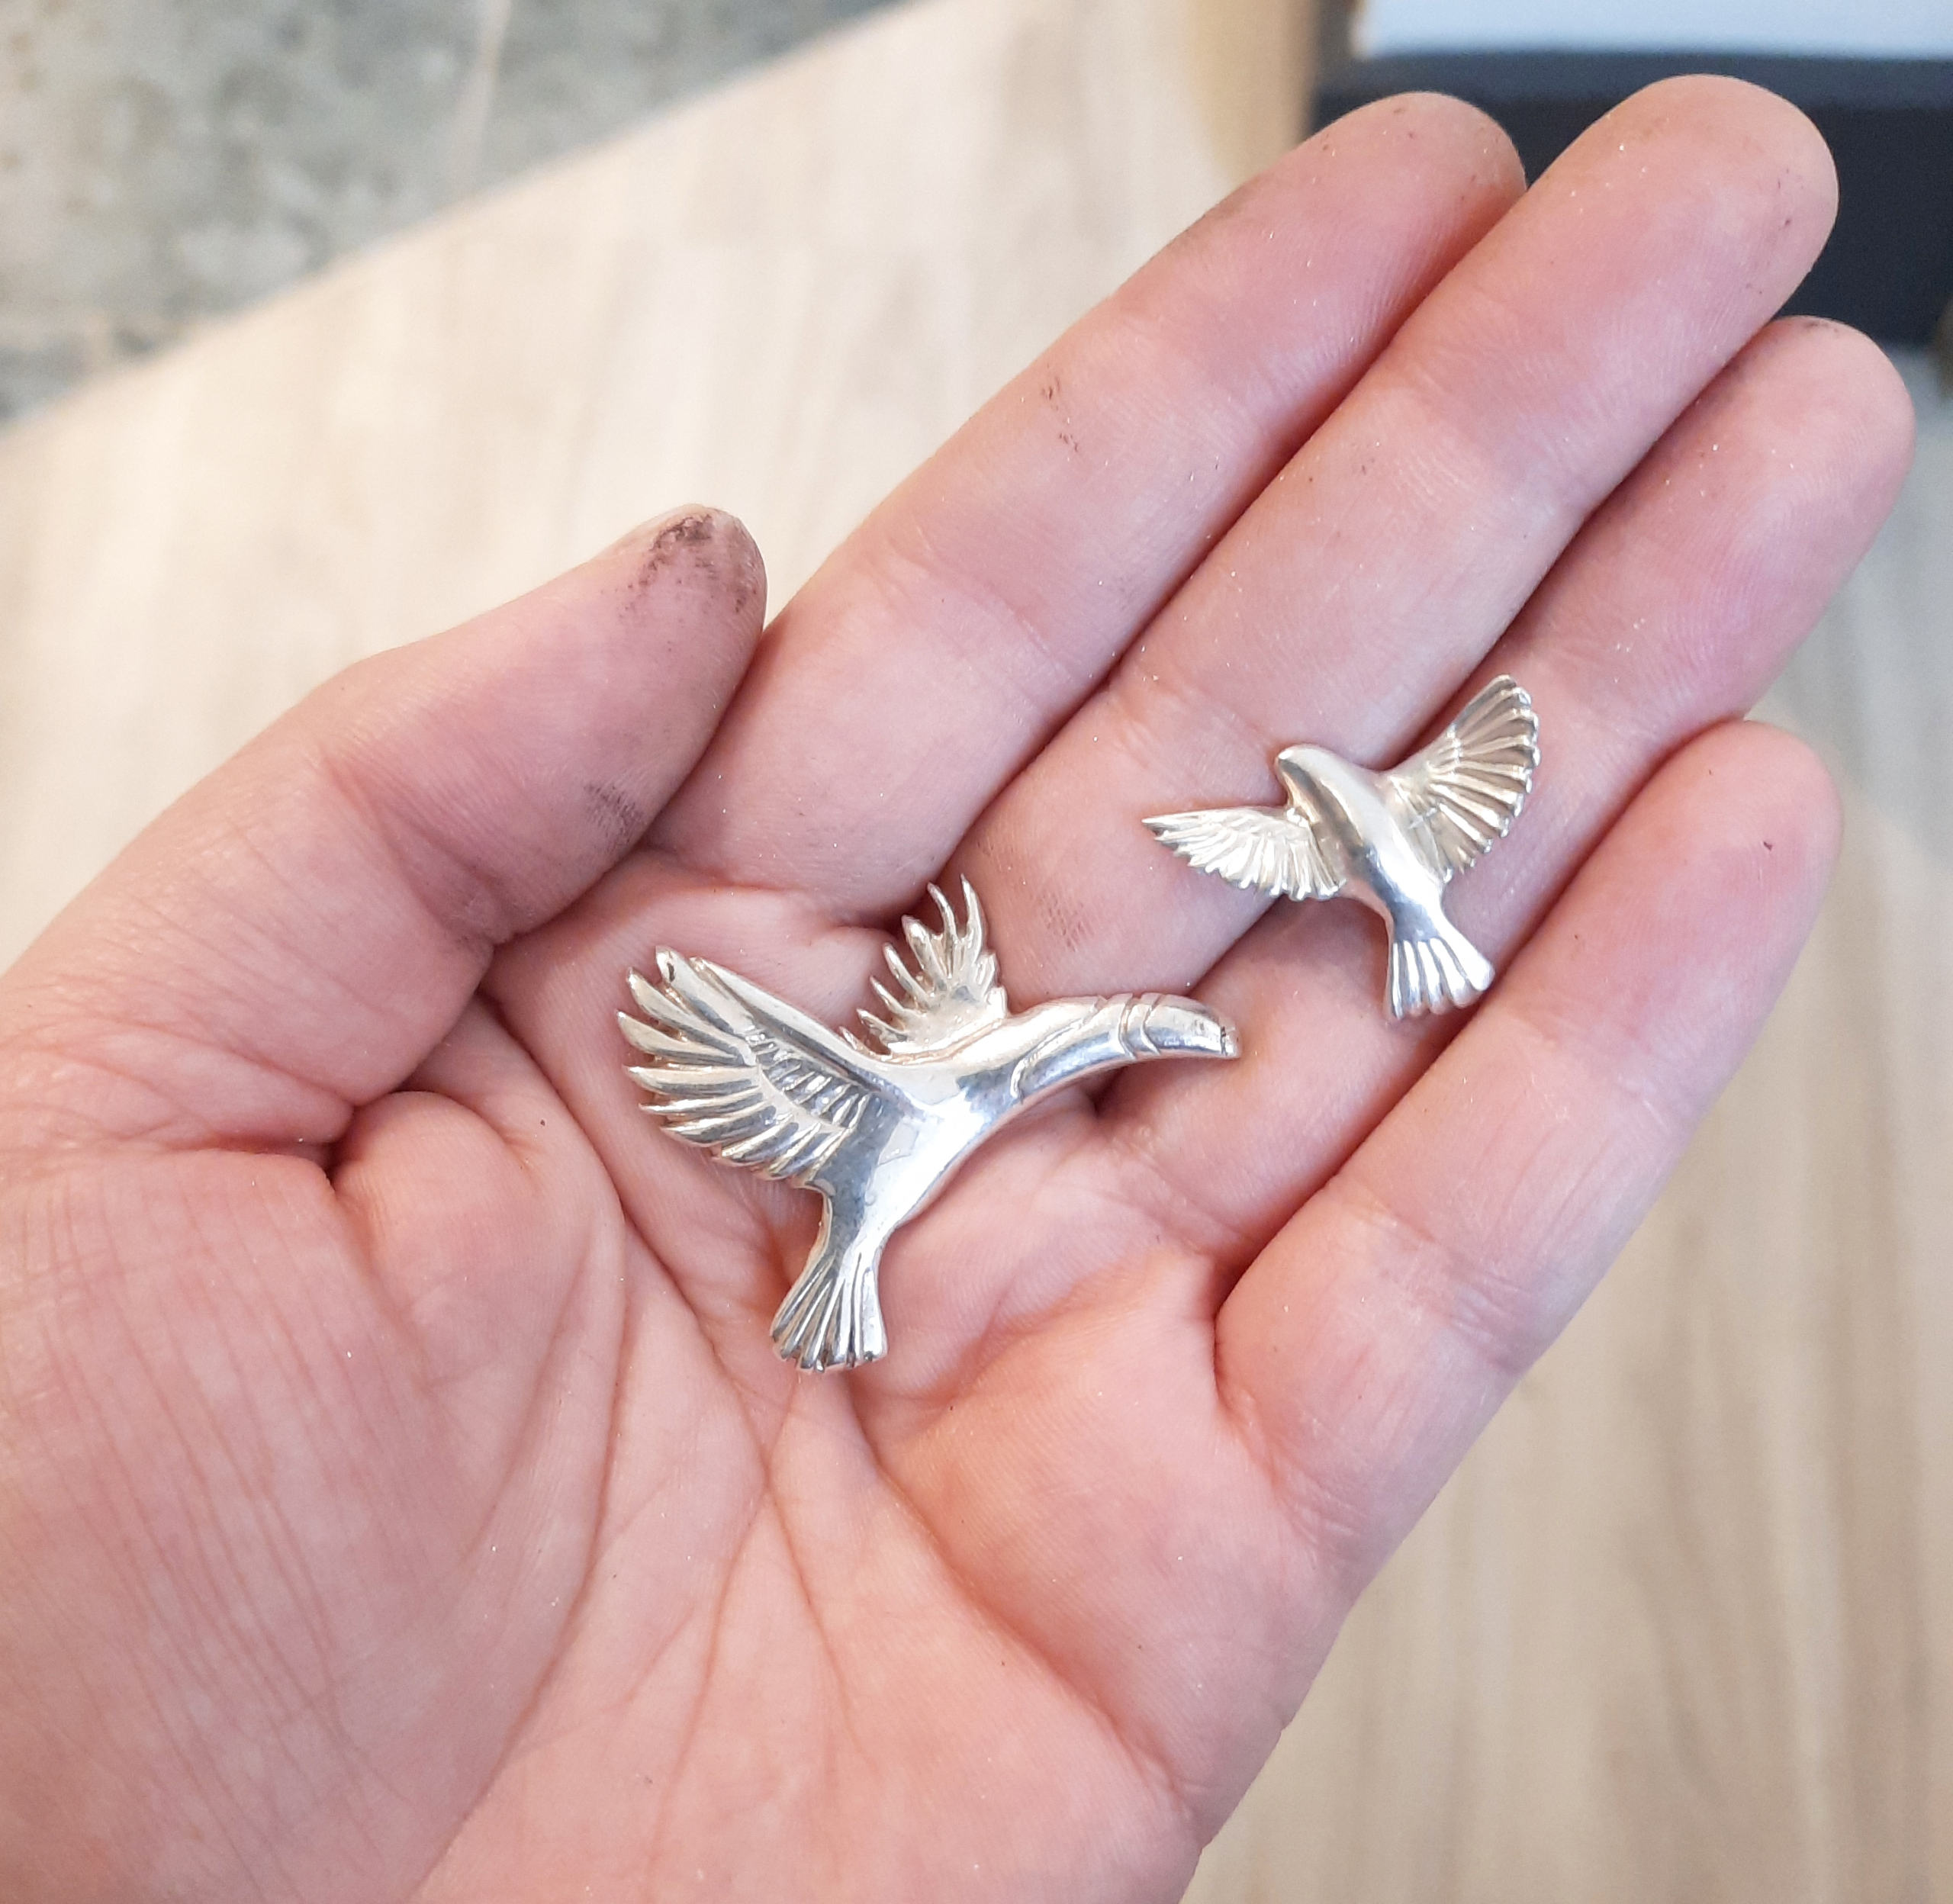
When the flask/mold has cooled enough so the silver is no longer a hot red, it gets quenched in a bucket of water, and the plaster just FALLS AWAY – like magic! After a quick clean, this is what you have.
After a quick dip in a sweet sweet acid bath, baby girl gets to sparkling and shining.
A snip here, a *kiss* of a file there, maybe a brush with a hot flame, and what you have is something close to a pendant, and a few more decisions, like what stones am I going to set in those barnacles, and should they SPARKLE or just wink?
I am avoiding doing some emerying and since I’ve already done the studio cleaning, gonna do some blogging! Wanted to share some recent camera roll pics (maybe mostly to show off my eye shadow game) to try and sneak in some interesting links. – Alexis
My silver hairs seem to be reproducing exponentially lately… although gotta say love that I’m am growing a badass streak!Been thinking about, sketching, and fussing about with some new spinels. Found this progress shot before combining my Tuca and Bertie into a necklace. I have been very exacting about chain placement; it is still waiting to be finished.When you test drive a new pair of earrings by Alex Kinsley then get to keep them. Makes deciding on shadow colours easier ;o)Something that is actually finished!! Ruby Ironwork earrings. I had some process pics of recent custom pieces, but because they are on their way to customers I want to wait to show them off!
Another Saturday, another musing from me! I think I’ve mentioned this before, but sometimes I have ideas that roll around my brain for years. Lately I’ve been thinking about Chatelaines. What’s that, you say? A chatelaine was traditionally a way to cart around everyday useful items, like keys, scissors, etc. without weighing down a pocket. They could be quite decorative, and they were usually attached to a pocket or a belt. They were worn by both men and women, but I most often think of them worn by women, as they were frequently worn by the woman of the house, or a housekeeper. You can read a bit more about them here.
My fascination with them began a number of years ago, when I saw this one:
I love the intricate details, it was amazing to view in person.
In fact, it’s been so long that I had to look it up to figure out if it was from the Victoria and Albert Museum (UK) or one of the other UK museums I’ve visited many times. It was the Victoria and Albert. In fact, you can view many other examples from their archive here
So, I’ve been thinking about what a more modern chatelaine might carry. Not surprisingly, probably not that many differences to what you can see in historical examples for everyday use. How about as a goldsmith? That’s a bit of an interesting question… for me, maybe a notebook and pencil (for when inspiration strikes), keys, a scribe (a kind of pen for metal), small files, scissors, tweezers, all things that are handy for a goldsmith, but still all kind of pedestrian really.
No, what I’ve really been thinking about is what the modern immunologist’s chatelaine would look like, which is more conceptual really (and fits in with my background and some of my interests). So, scissors (what aren’t those useful for???), but my scissors might be molecular scissors, T cells, B cells and macrophages would be a must, antibodies and plasmids are always useful too! Not sure what else, I shall have to think some more.
Yes, my skills at doodling are nothing to write home about, but anyway, here’s a quick impression of what MY chatelaine might look like in my brain!
If you were making your own chatelaine, what would you put on it?