
Author: Jewel Envy
Untitled
Here are several things I have repaired. I wasn’t interested in fixing other people’s creation. Some are old, dirty and lack of craftsmanship. But as I do more, I actually find them challenging and fun. How I can turn them into lovely jewellery, which is comfortable to wear and presentable again.


STACKED
Happy Birthday Canada!!!
If you’re not making jewellery for Canada’s birthday, then I’m afraid you just aren’t celebrating properly. To help you prepare for next year, here is a mini lesson in Canada’s favourite pastime – making stacking rings. Now pay attention!
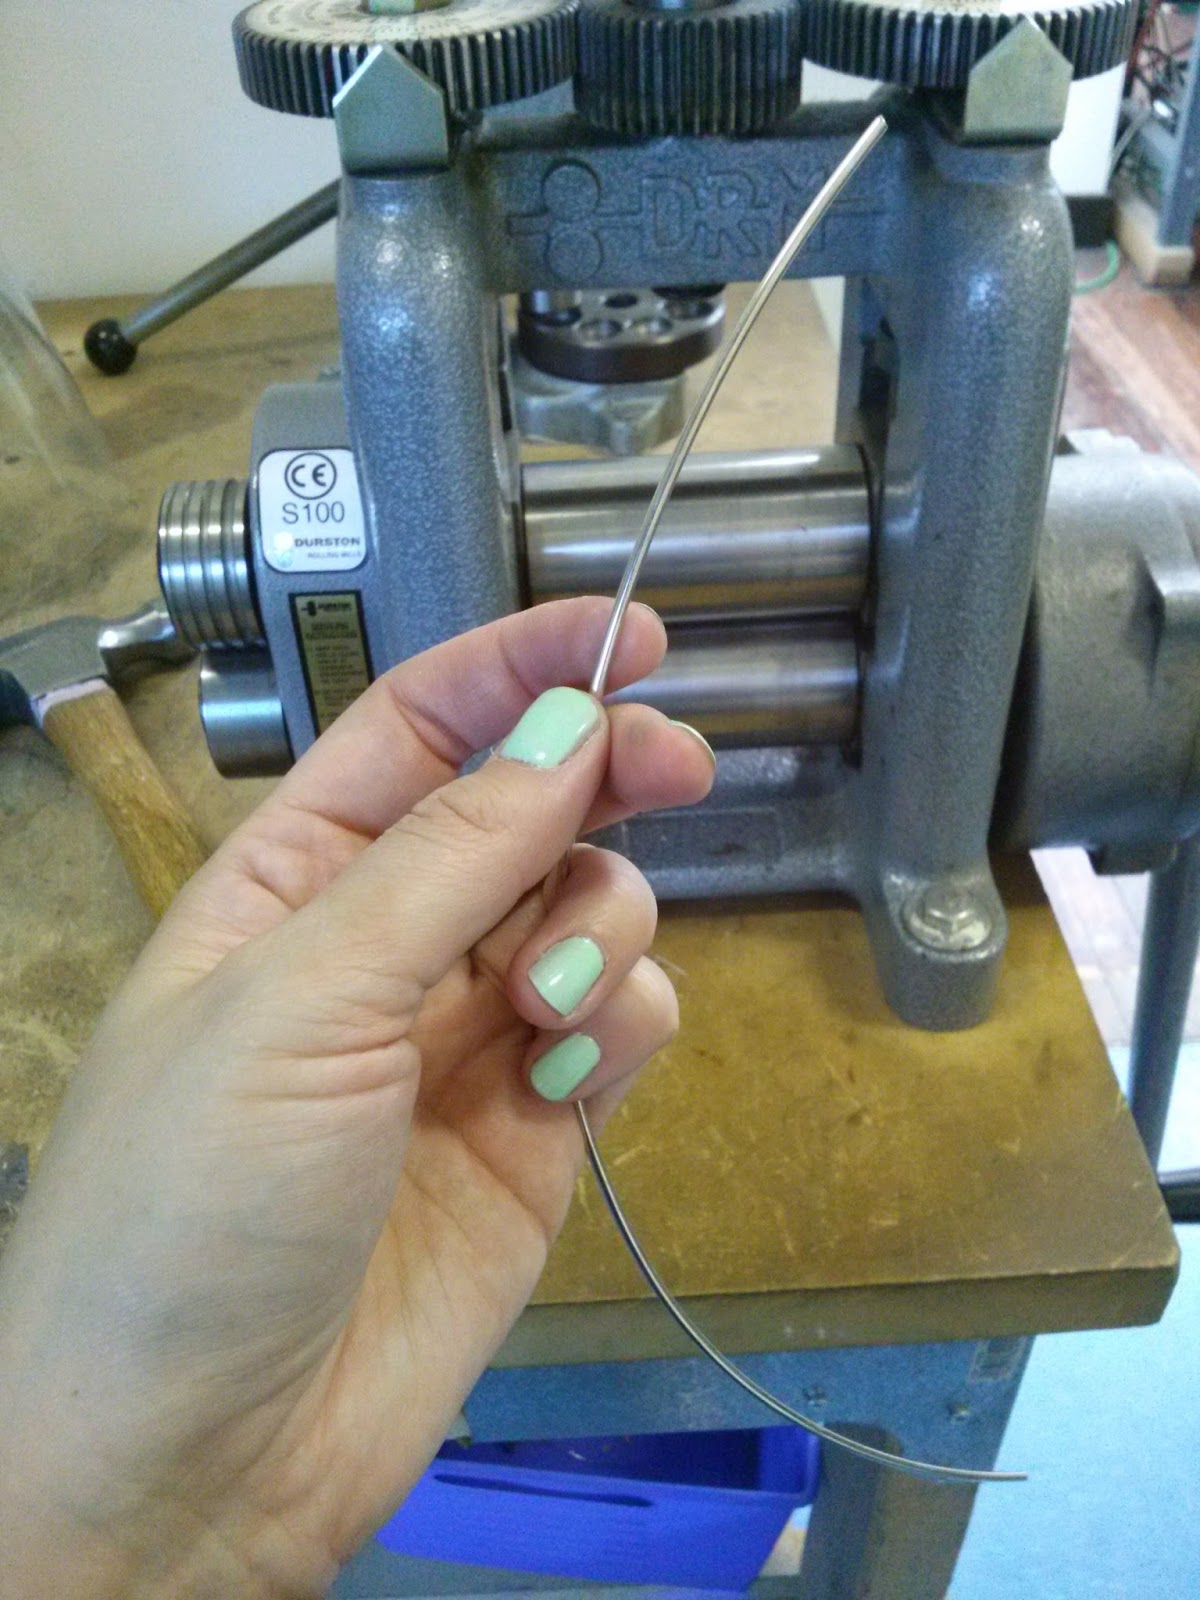
I like to start off with round wire, which I roll down just a bit. This gives the rings a nice comfort fit. In this case, I am using 12 gauge wire, which is about 2mm in diameter.
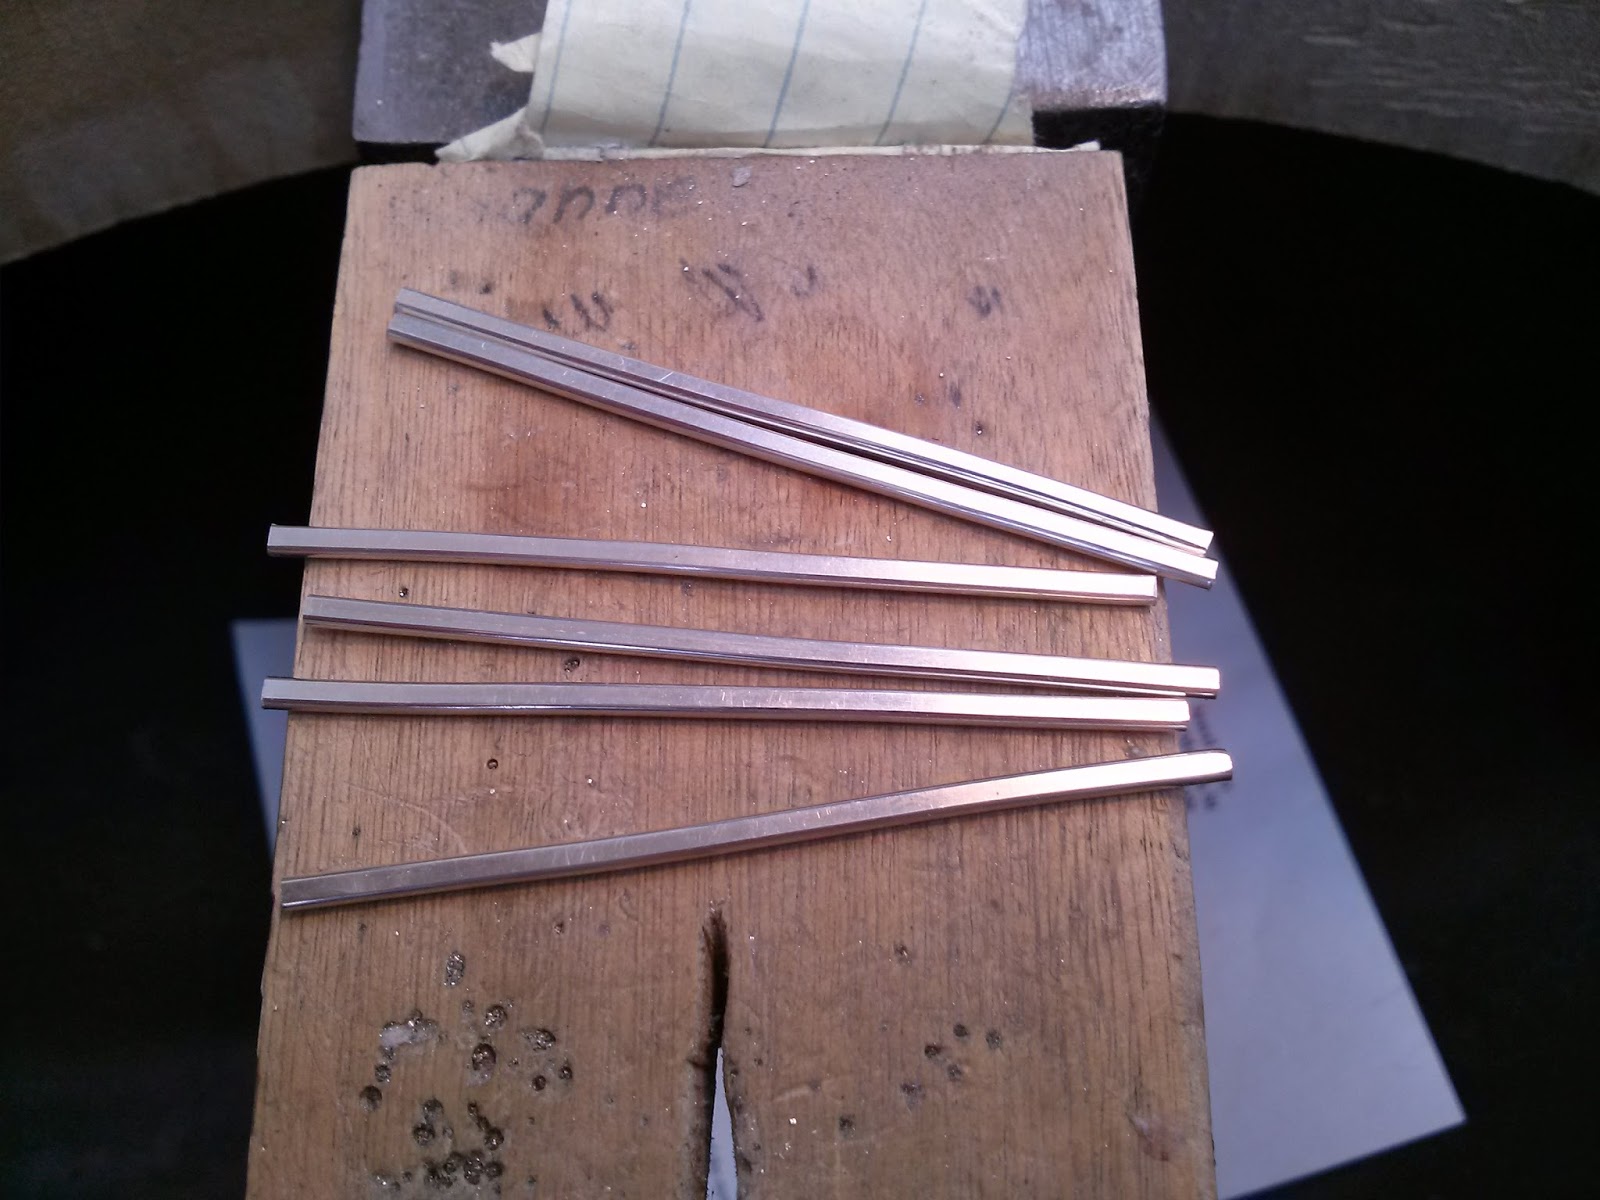
After carefully calculating the required length, cut the ring blanks and file all the edges to 90 degrees. When making super skinny rings, I tend to cut the blanks about a quarter size too small to account for stretching (because I don’t know my own mallet strength) and clean-up.
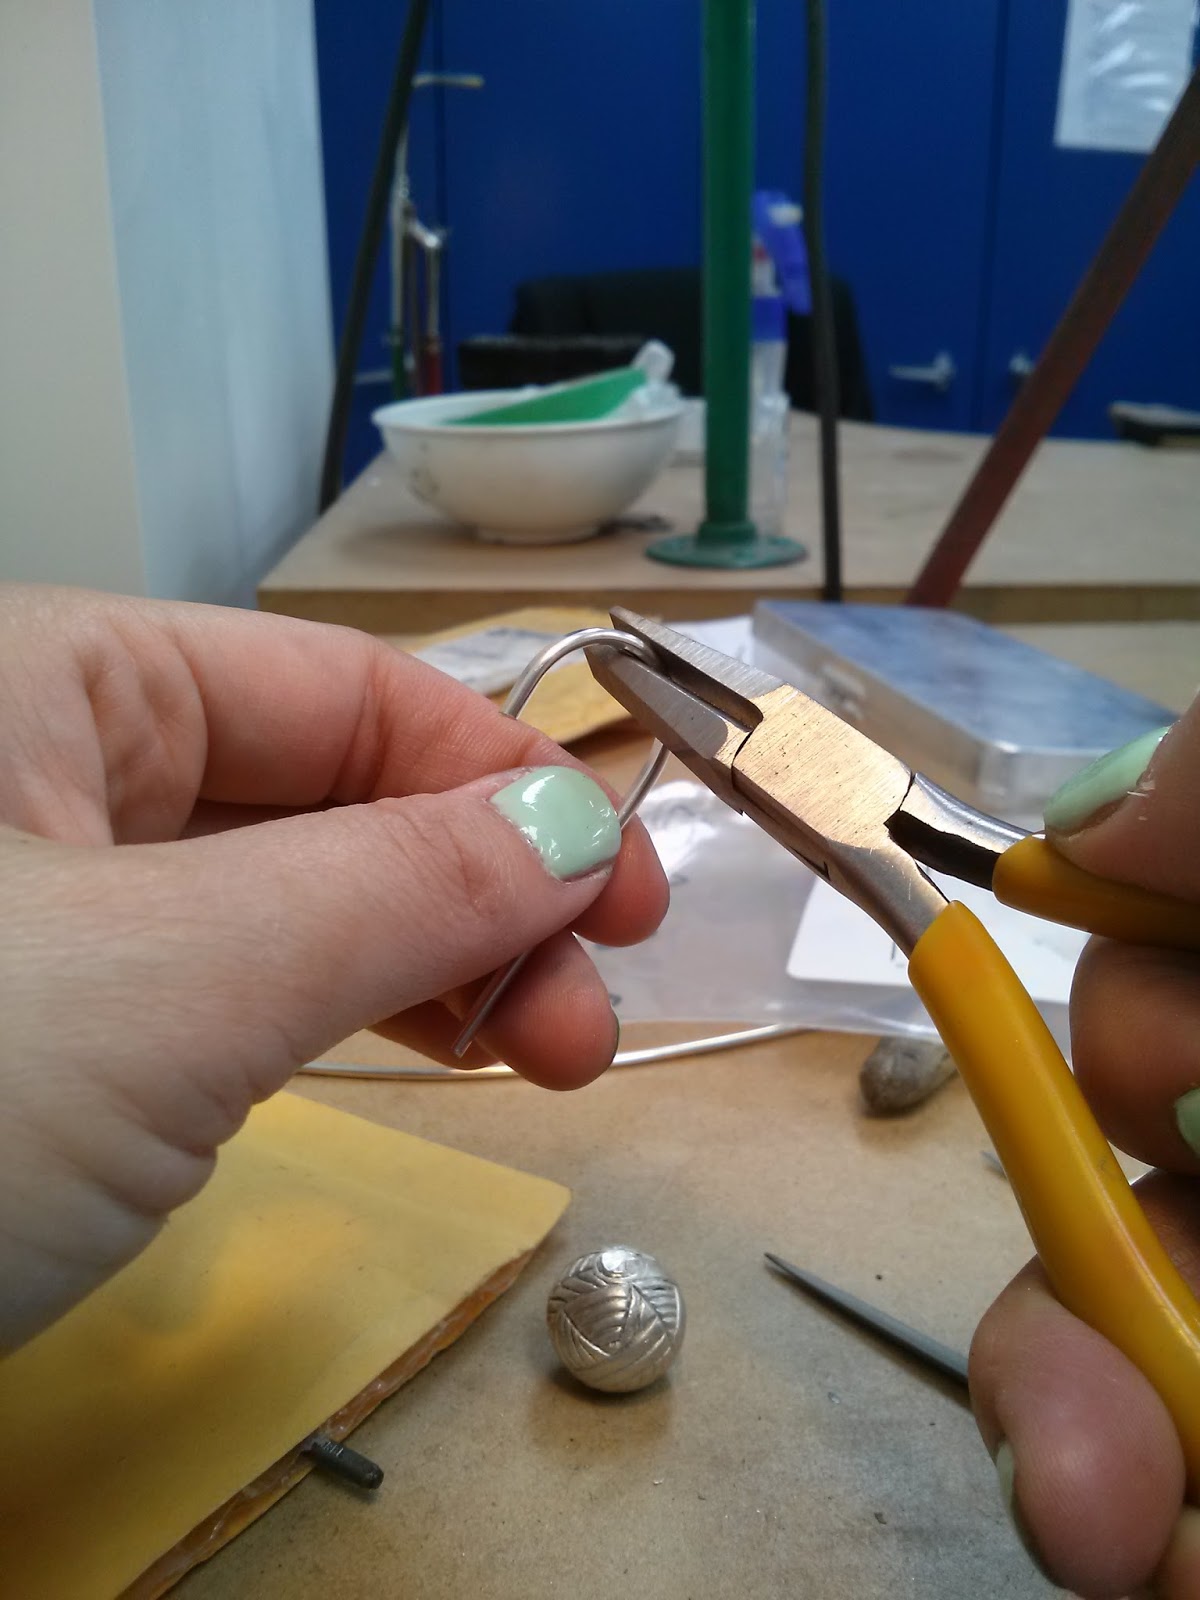
Using ring bending or half-round pliers, shape each blank into a ‘D’ shape. The two ends should meet perfectly to ensure a good solder seam. Be careful to use the pliers as leverage with your fingers doing most of the bending, or you will mark your metal.
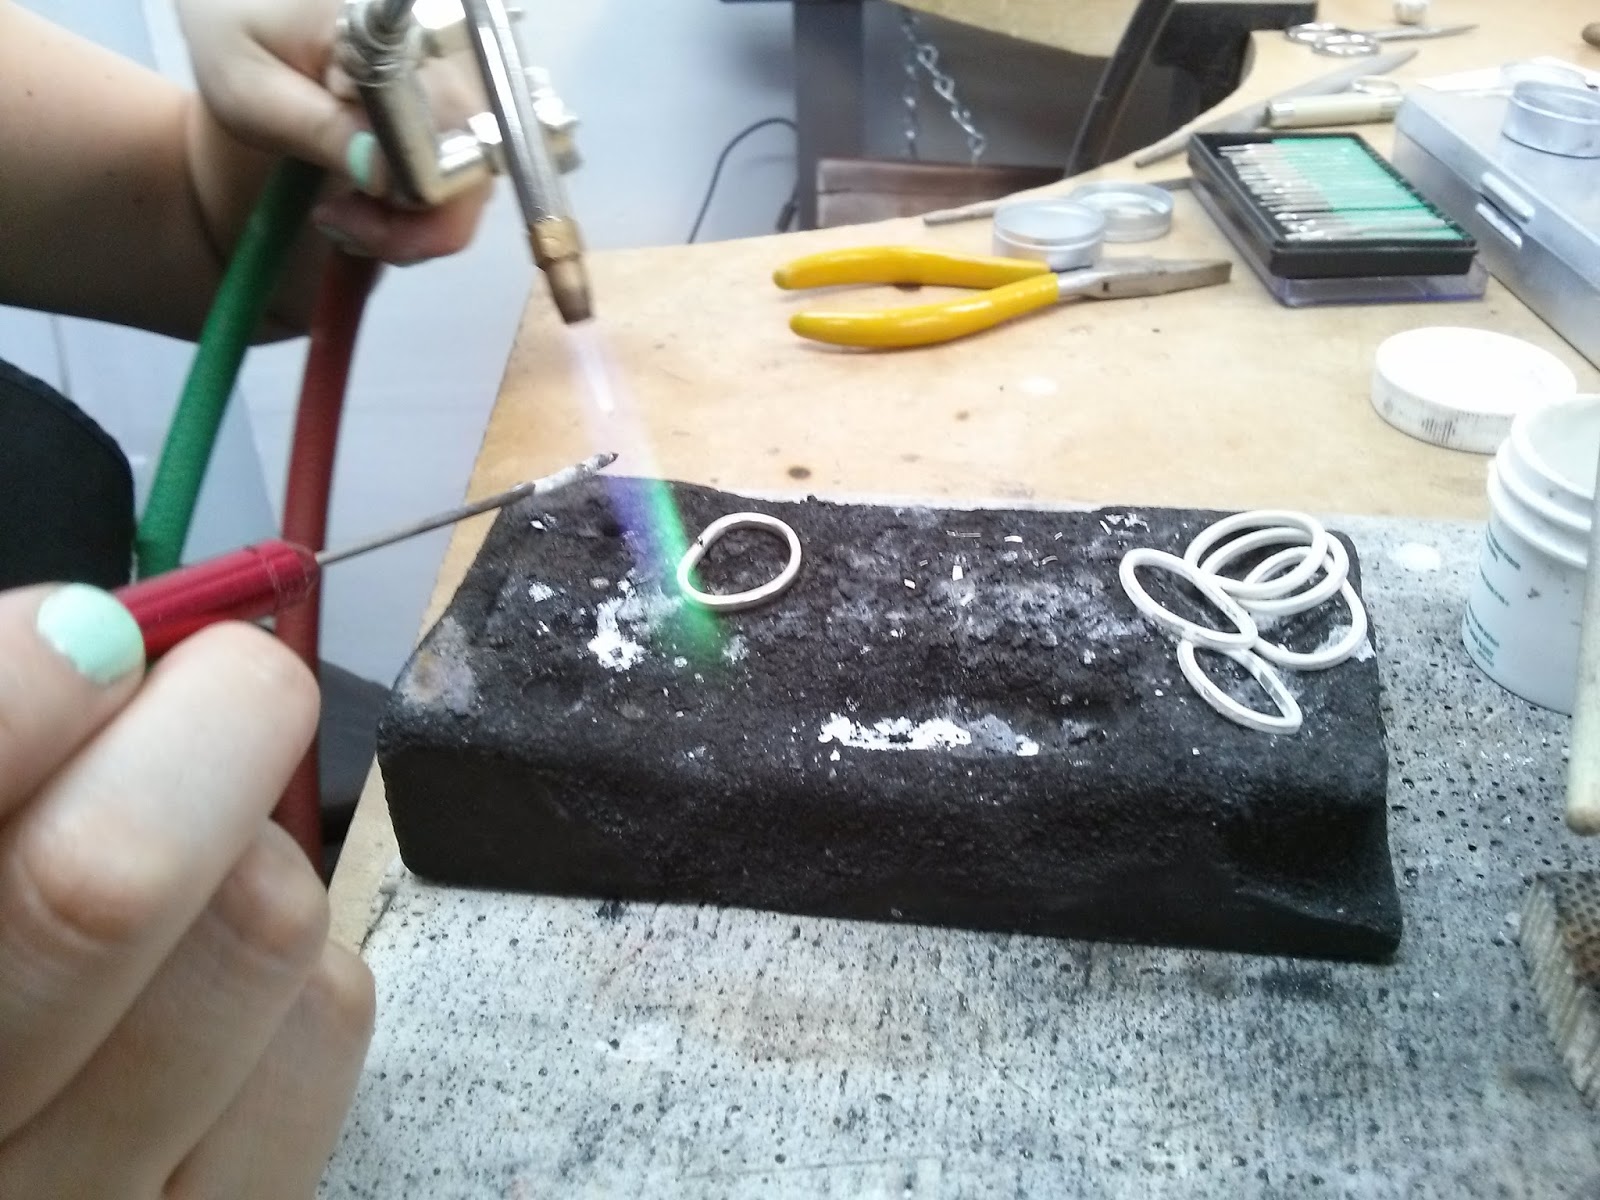
Next, solder the rings using hard or medium solder. Make sure the solder flows all the way through the seam.

File away the excess solder from the seam, and hammer the rings round on the mandrel using the mallet. I like to start off by hammering around the ring towards the seam from both sides. Make sure the rings are the correct size!
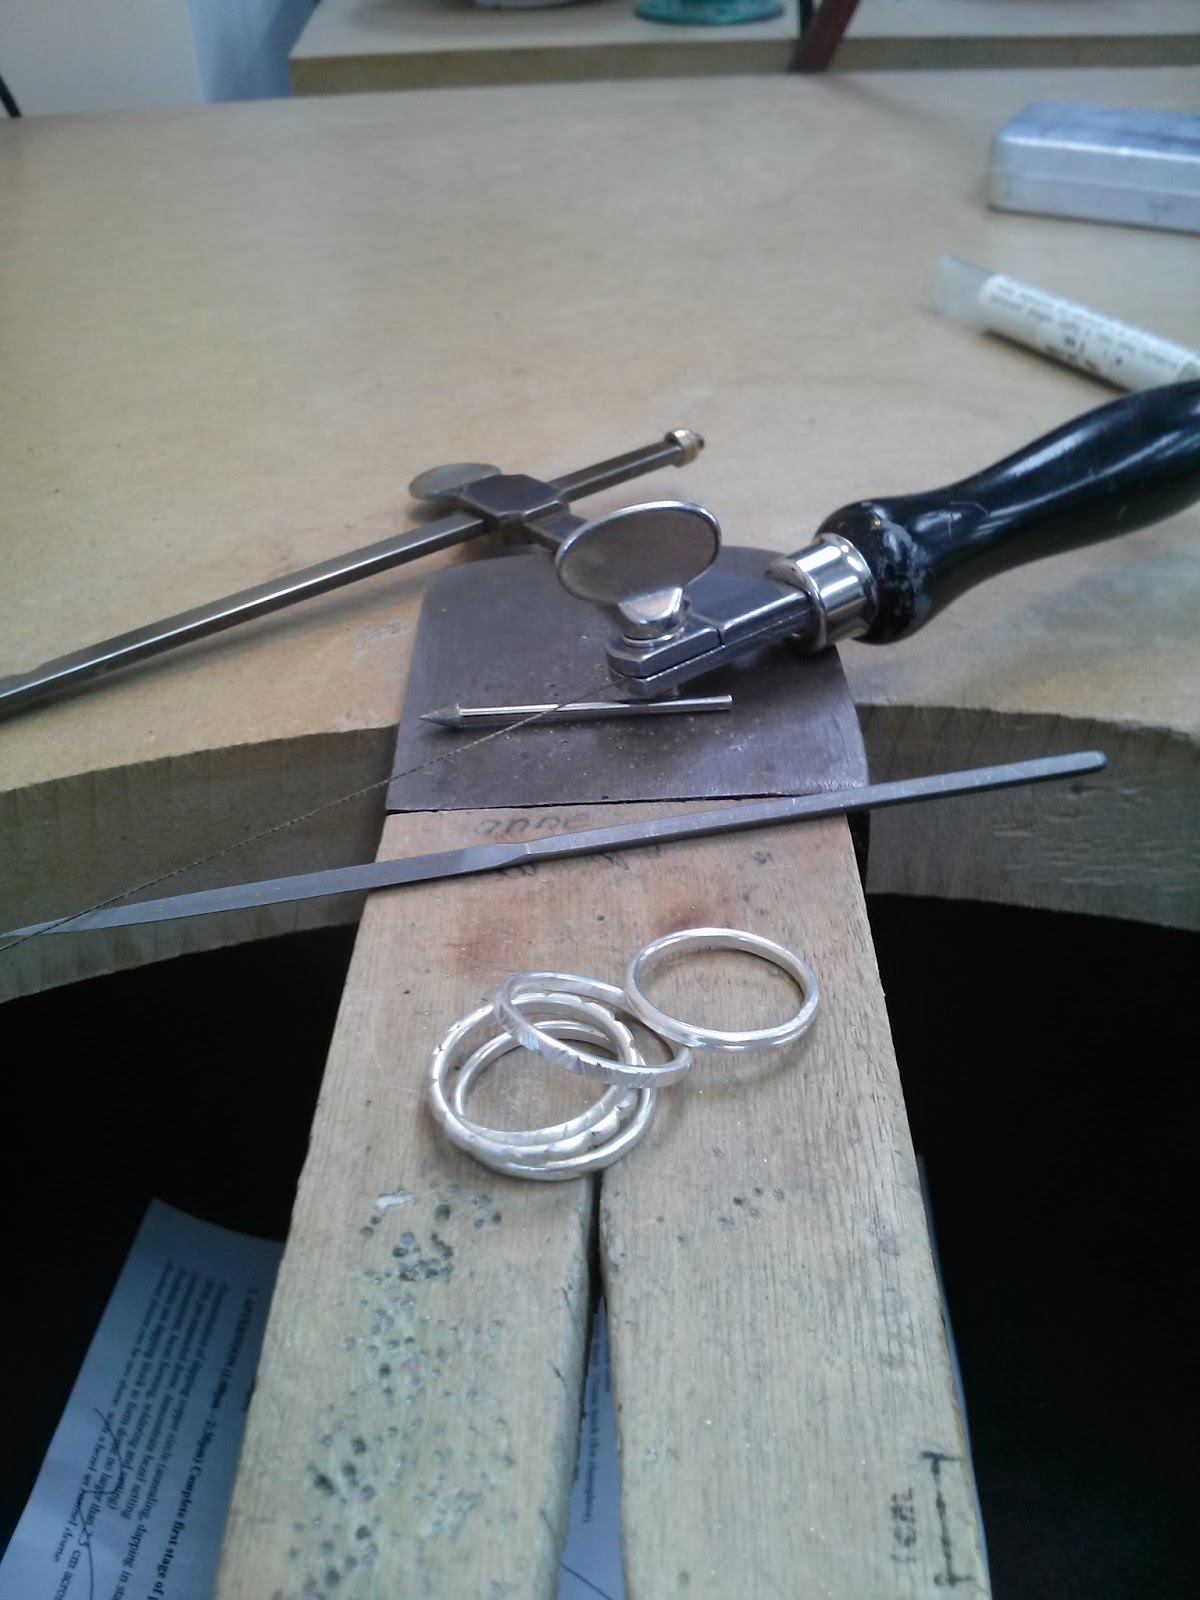
Once the rings are round, I use a combination of files, sawblades, and diamond burs to make different patterns and texture. Then it’s time for some light-clean up and voila!

Stacked.
Have a great weekend!
Roncy Rocks Casting Class
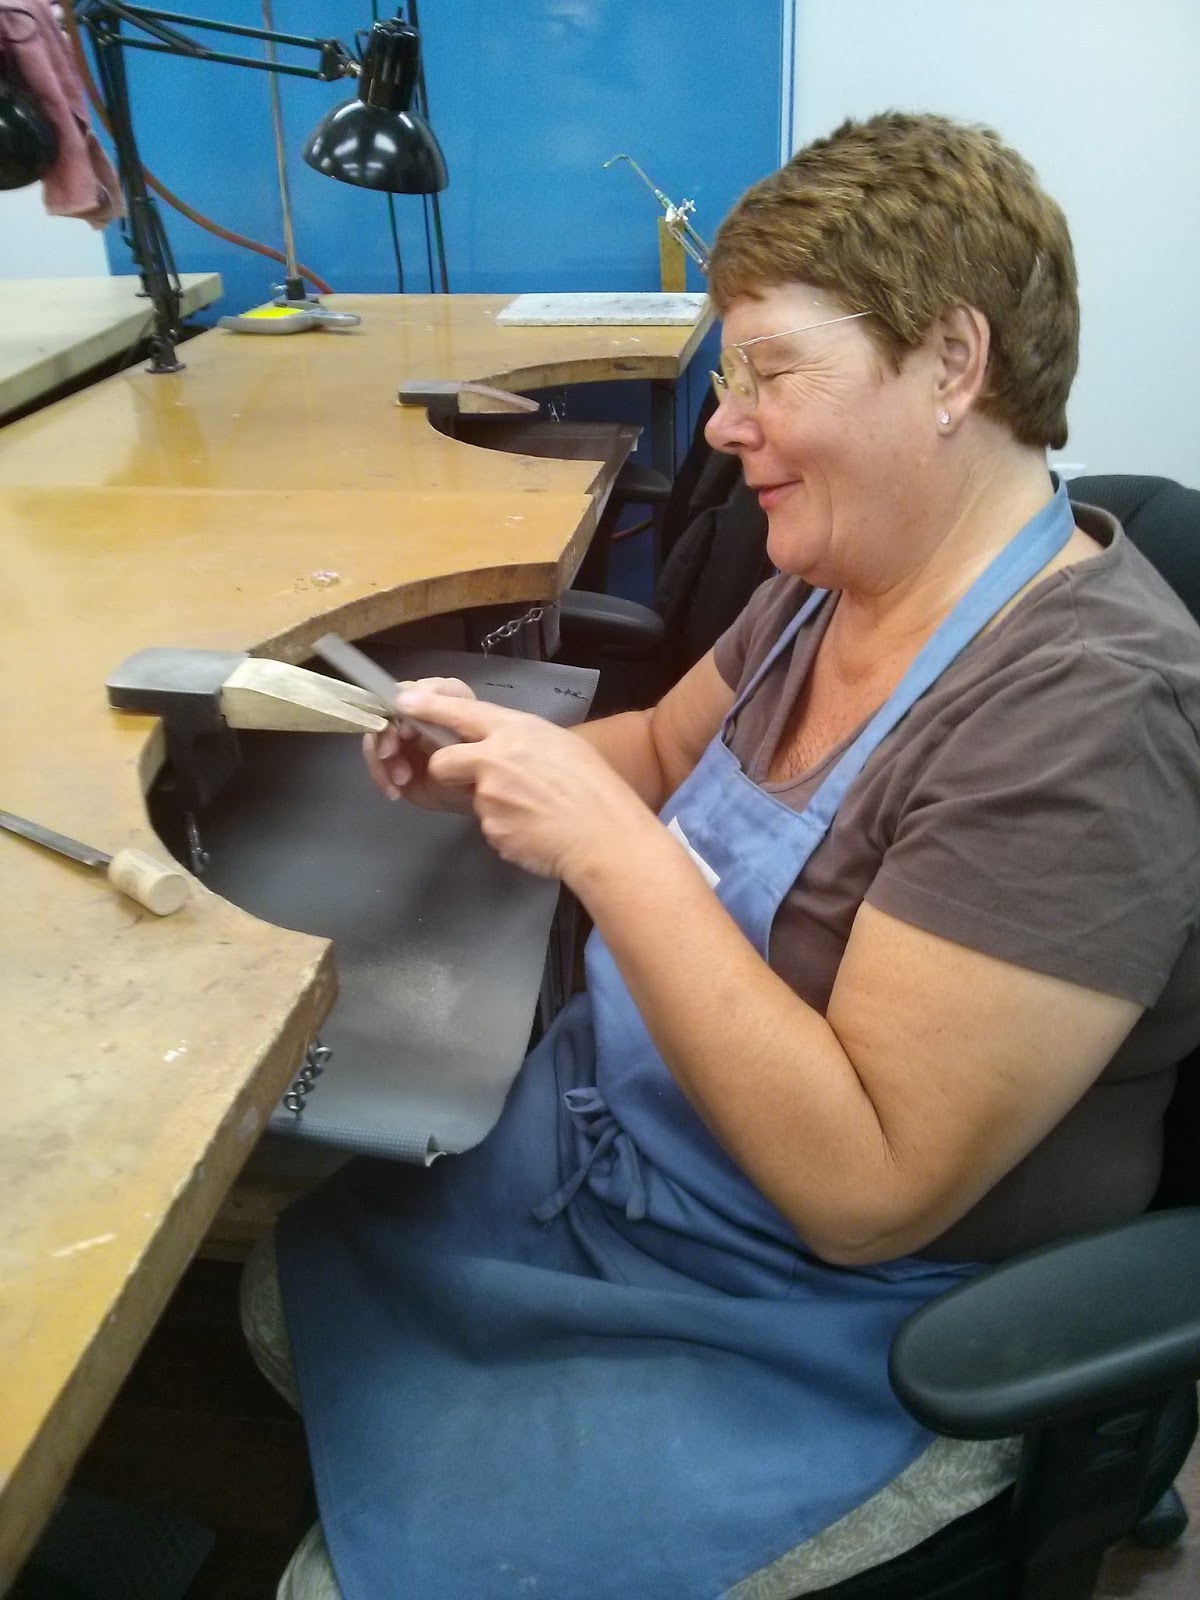
For those of you not in the know, last weekend there was a street festival in Roncesvalles called Roncy Rocks. There were street vendors, artists, magicians, musicians, you name it. Here at Jewel Envy, we offered a free wax carving demo in the sweet summer sunshine. A few participants, Courtney, Patricia, and Vida, opted to have their pieces cast in silver, and then came in today for a 1-day workshop to clean it all up to a polish.
Below is an image of Courtney, hard at work. Her finished piece is a pendant with a jump-ring bail, hanging on a lilac cord. The pattern she carved on the front is perfectly complemented by the diamond-shape, if you ask me. It turned out fantastic!


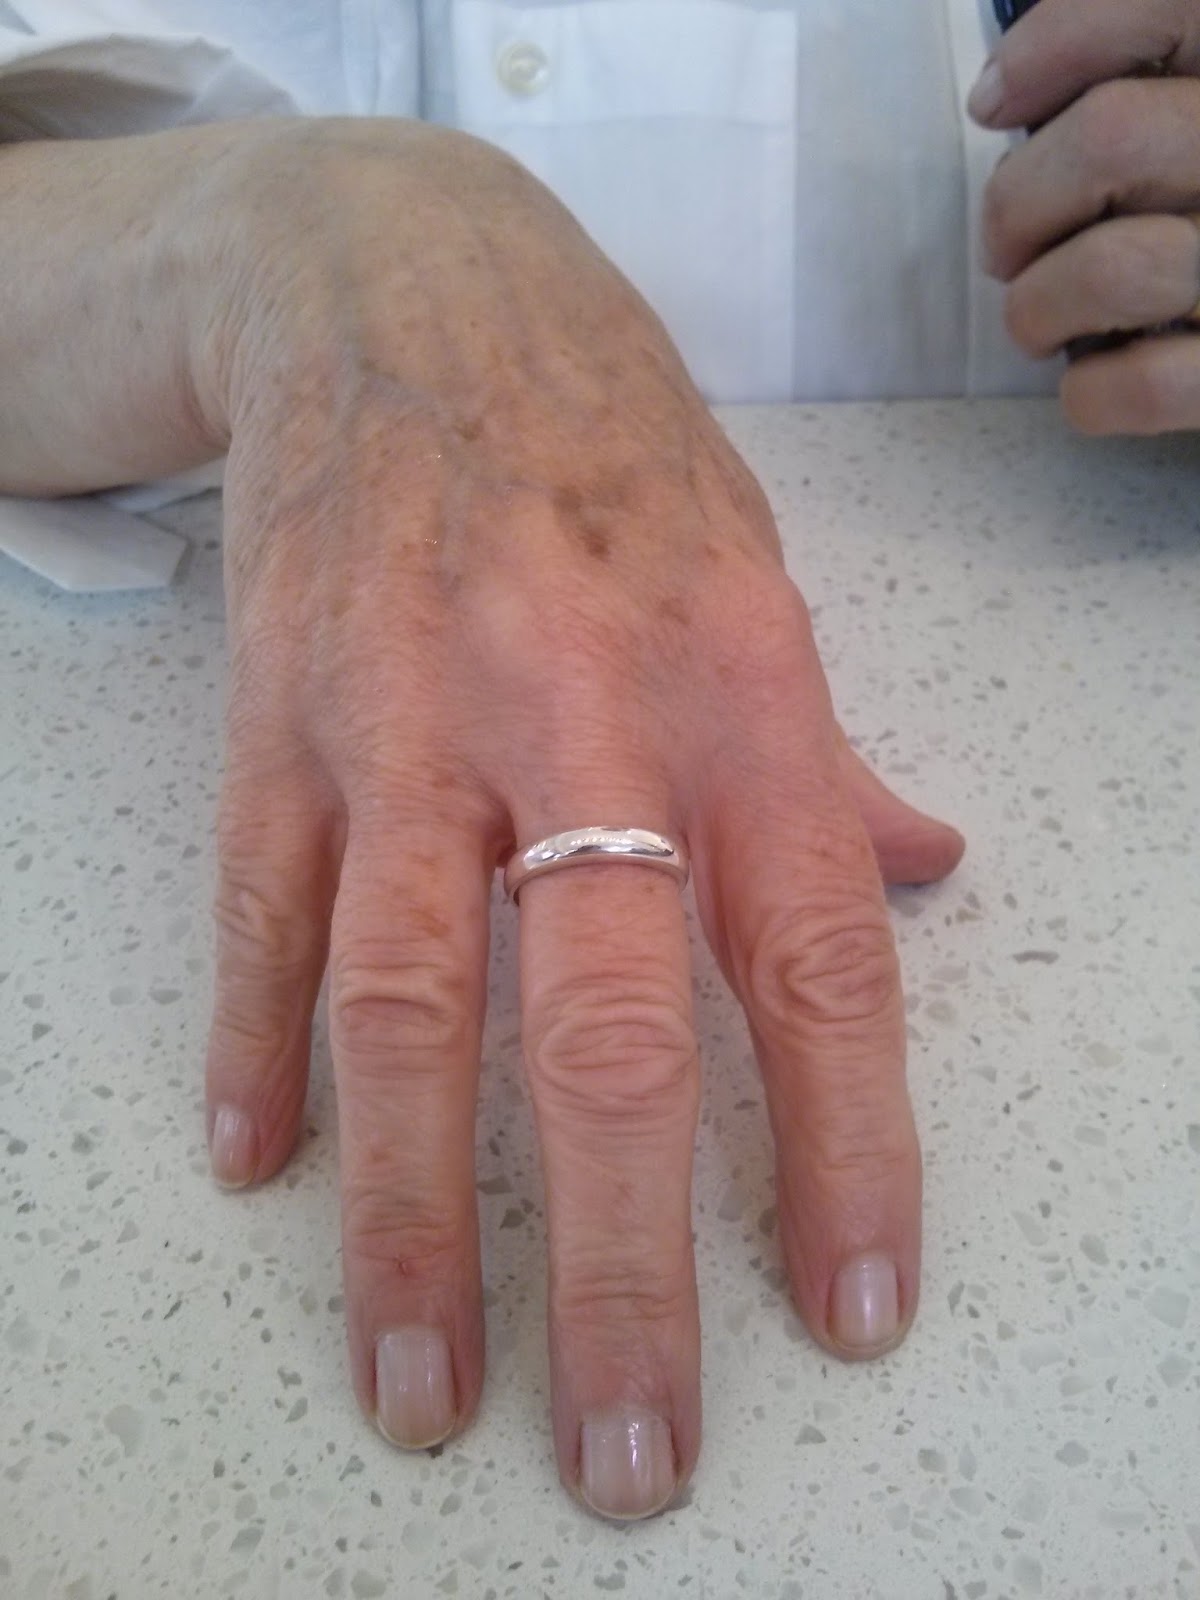
This is Patricia. She decided to make a ring for herself, which is one of my favourite things to do too:) The ring looks fantastic on her hand, doesn’t it?! And see what a difference a polish can do, if you just sneak a peek at the middle image of the work in progress.

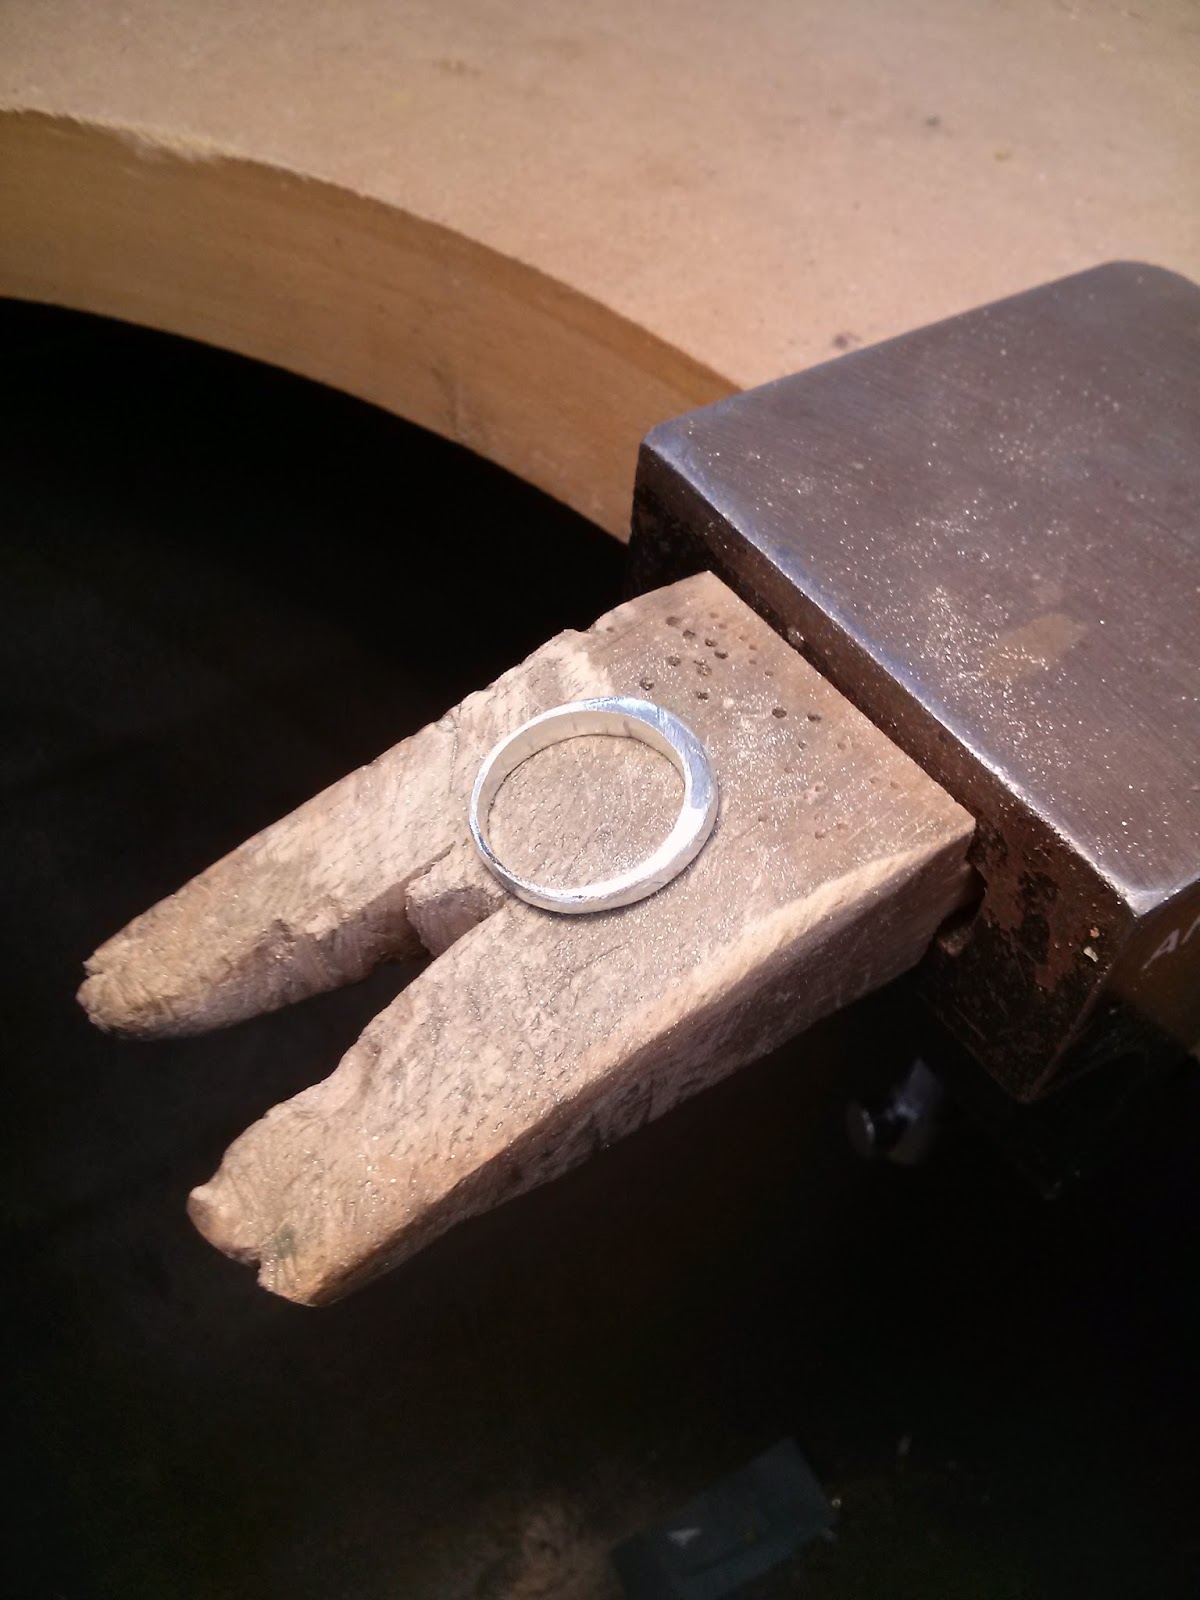
Last but definitely not least, here is Vida. She was VERY motivated and completed two pieces, but here I am showcasing her ring. She added three pieces of amber to the ring, for the perfect combination of colour and eye-catching design. So unique and pretty!


Ladies, your pieces were amazing, you are amazing, everything is amazing!
Spring 2013 Colour Palette

visit our pinterest page https://pinterest.com/jewelenvy/ to see what gemstones I thought would be great matches to pantones 2013 Spring Colours!
Mokume Gane workshop
Good afternoon!
This past weekend, there was a 2-day Mokume Gane workshop in the studio.
Mokume Gane is a traditional Japanese decorative technique, that uses compressed layers of contrasting metal (called a billet) to create varied and unique patterns. It is labour-intensive, but the results are well worth the effort.
The students, Lissa and Silvia, made billets of sterling silver and copper. The sheets of metal are soldered together, rolled down, cut in half, and then these halves are stacked and soldered together. This process is repeated until the desired number of layers has been achieved. The end result in this class was a 16-layer billet. Here are the lovely students hard at work:
Lissa Silvia
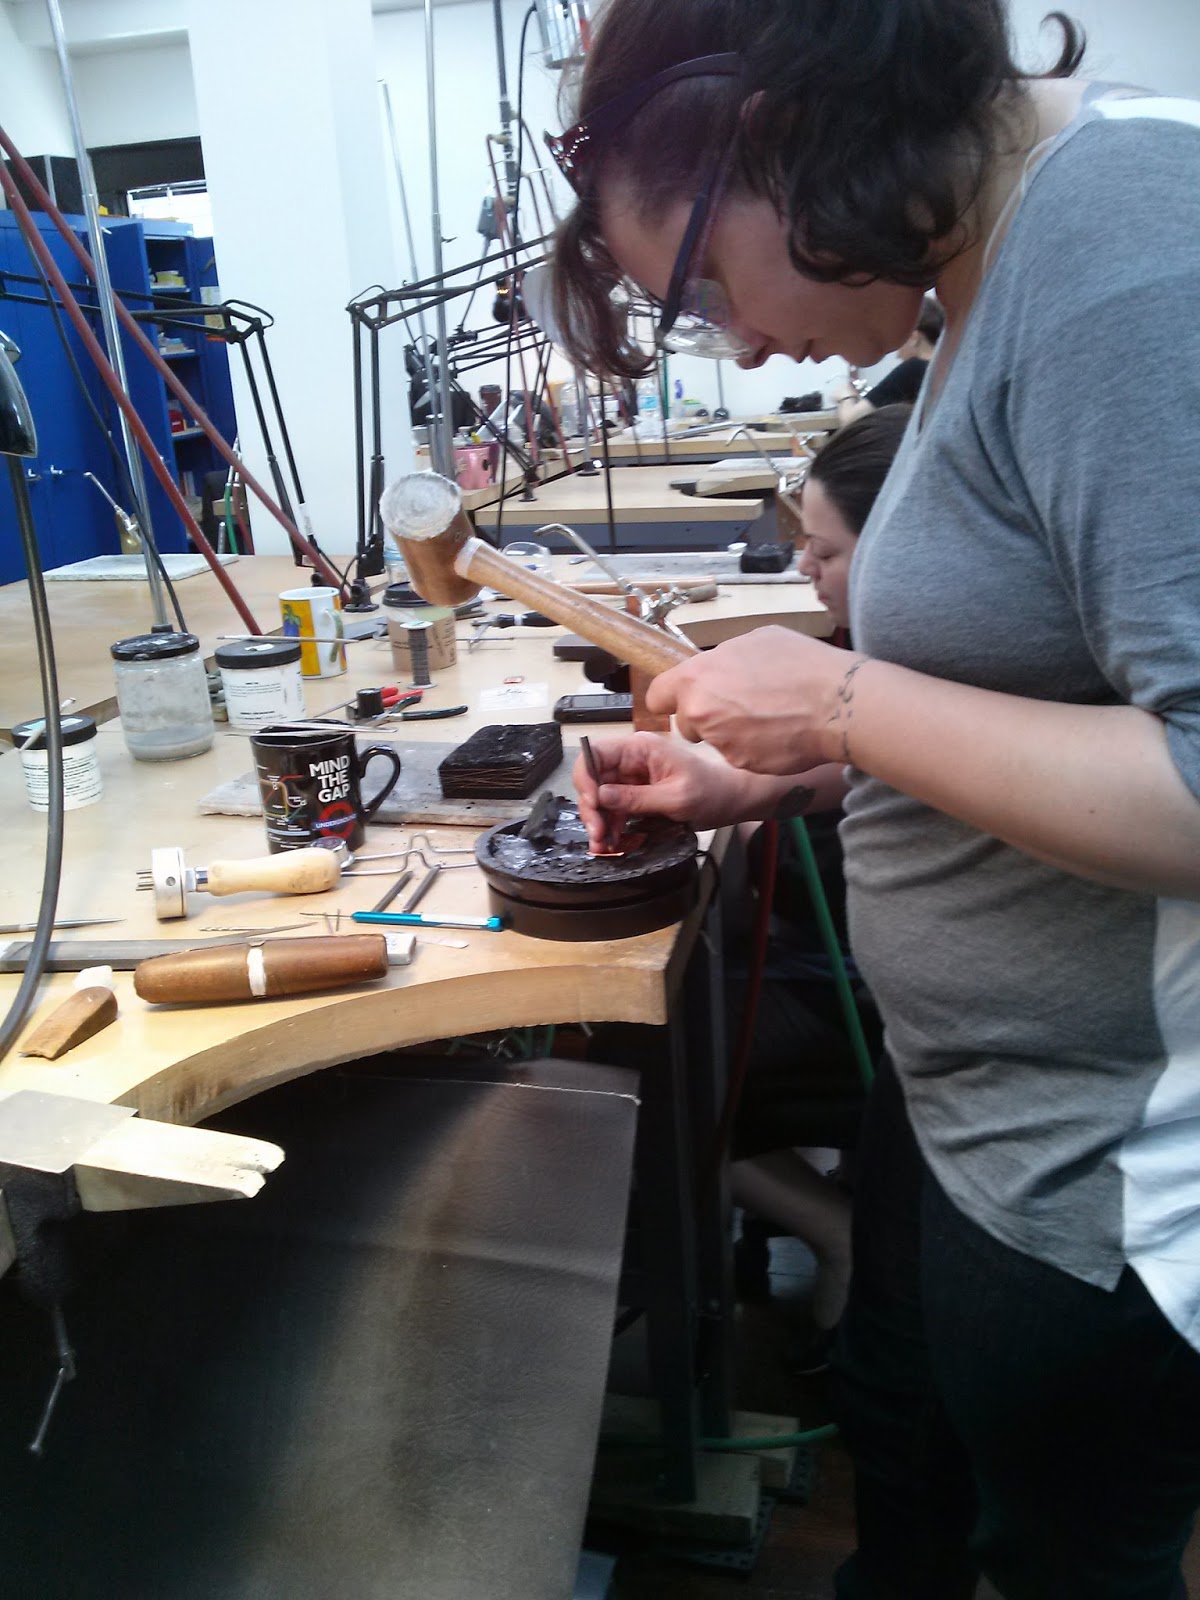

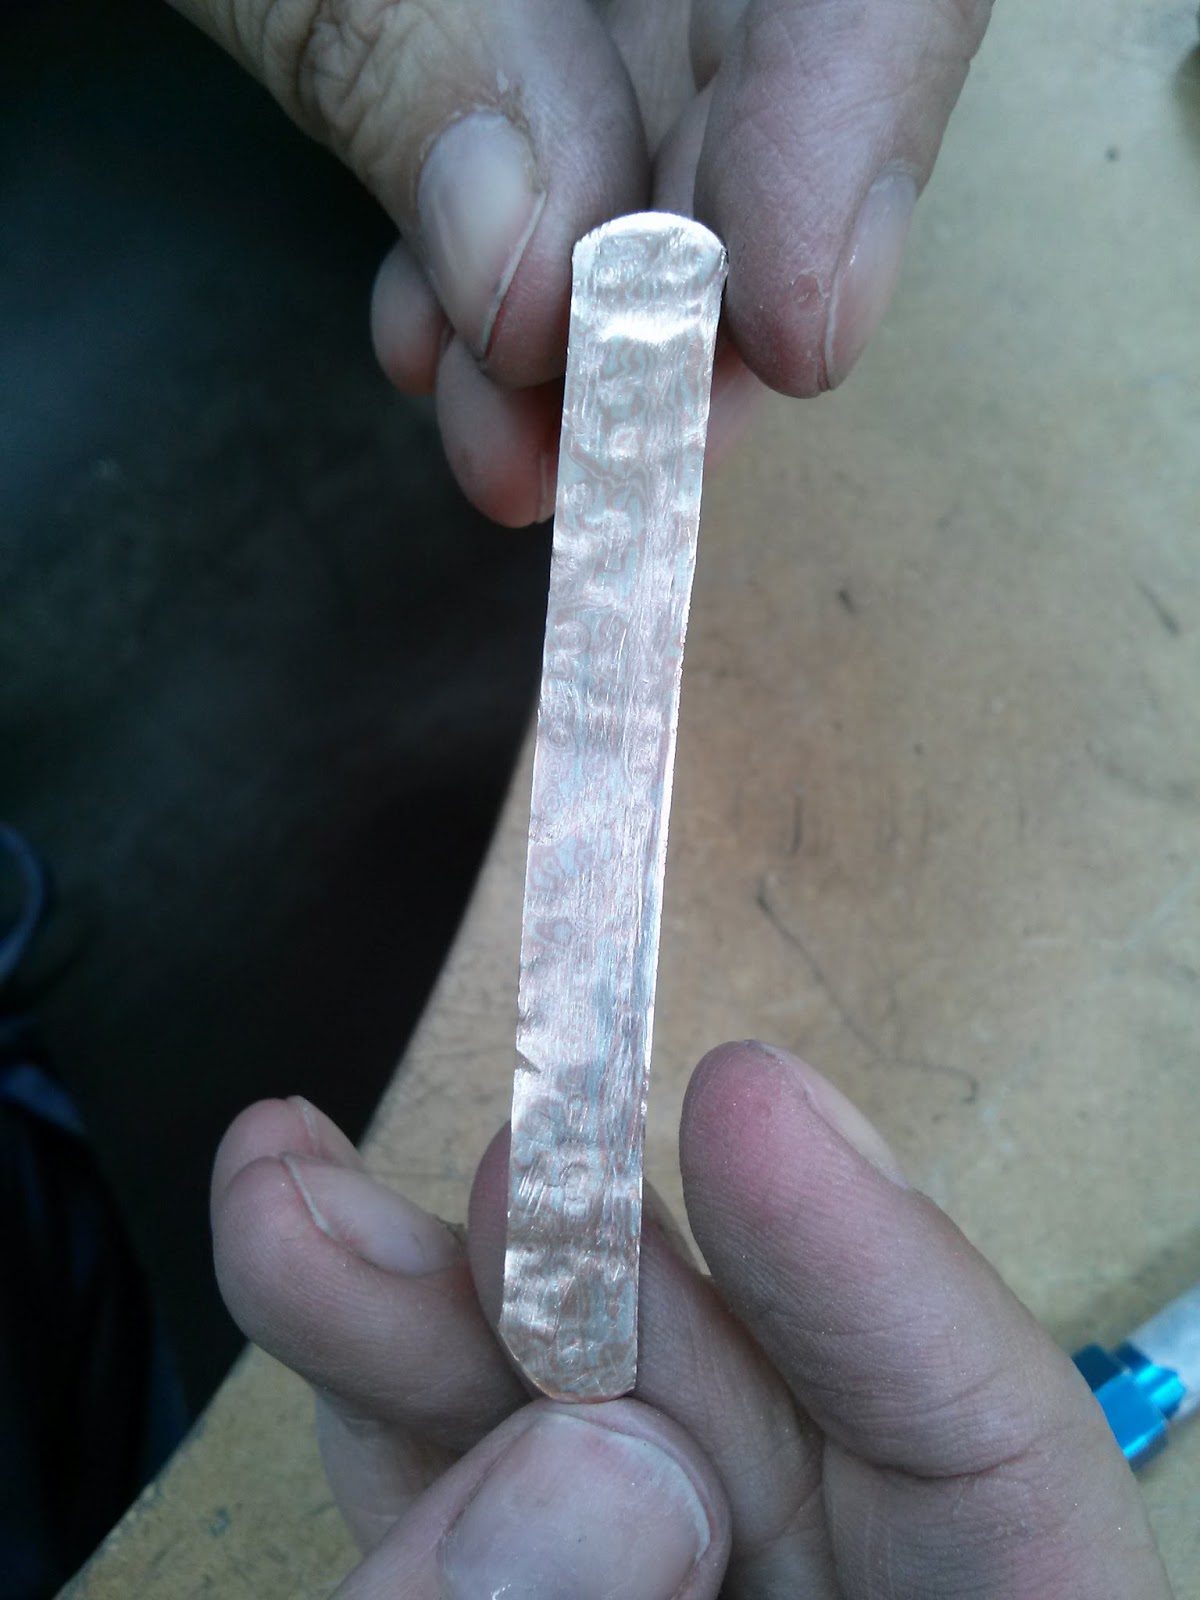
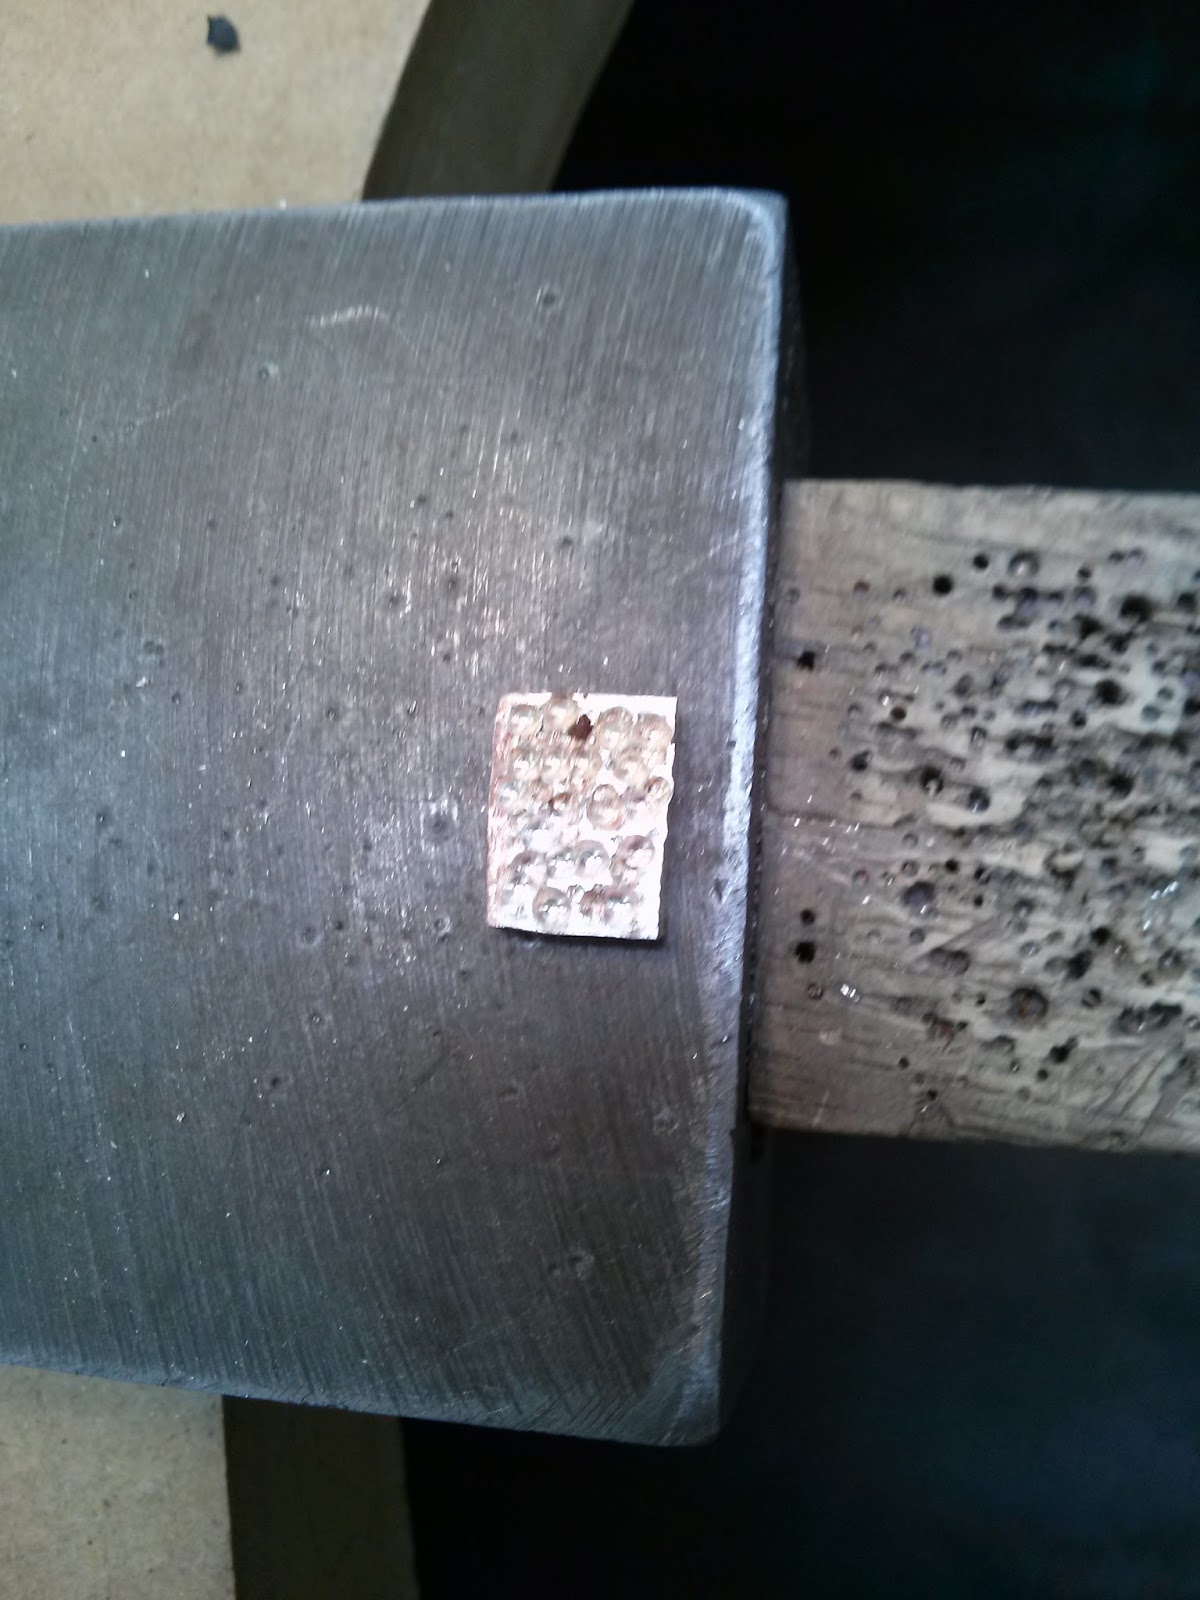
There are a few different ways to produce patterns. In this class, Lissa and Silvia tried two variants: hammering and burring. In the first instance, the piece is hammered, which produces raised bumps on the opposite side. These are then filed down reveal the pattern within the piece. In the second instance, the piece is burred to reveal the pattern below, and then rolled level.
Some shots of the work in progress:
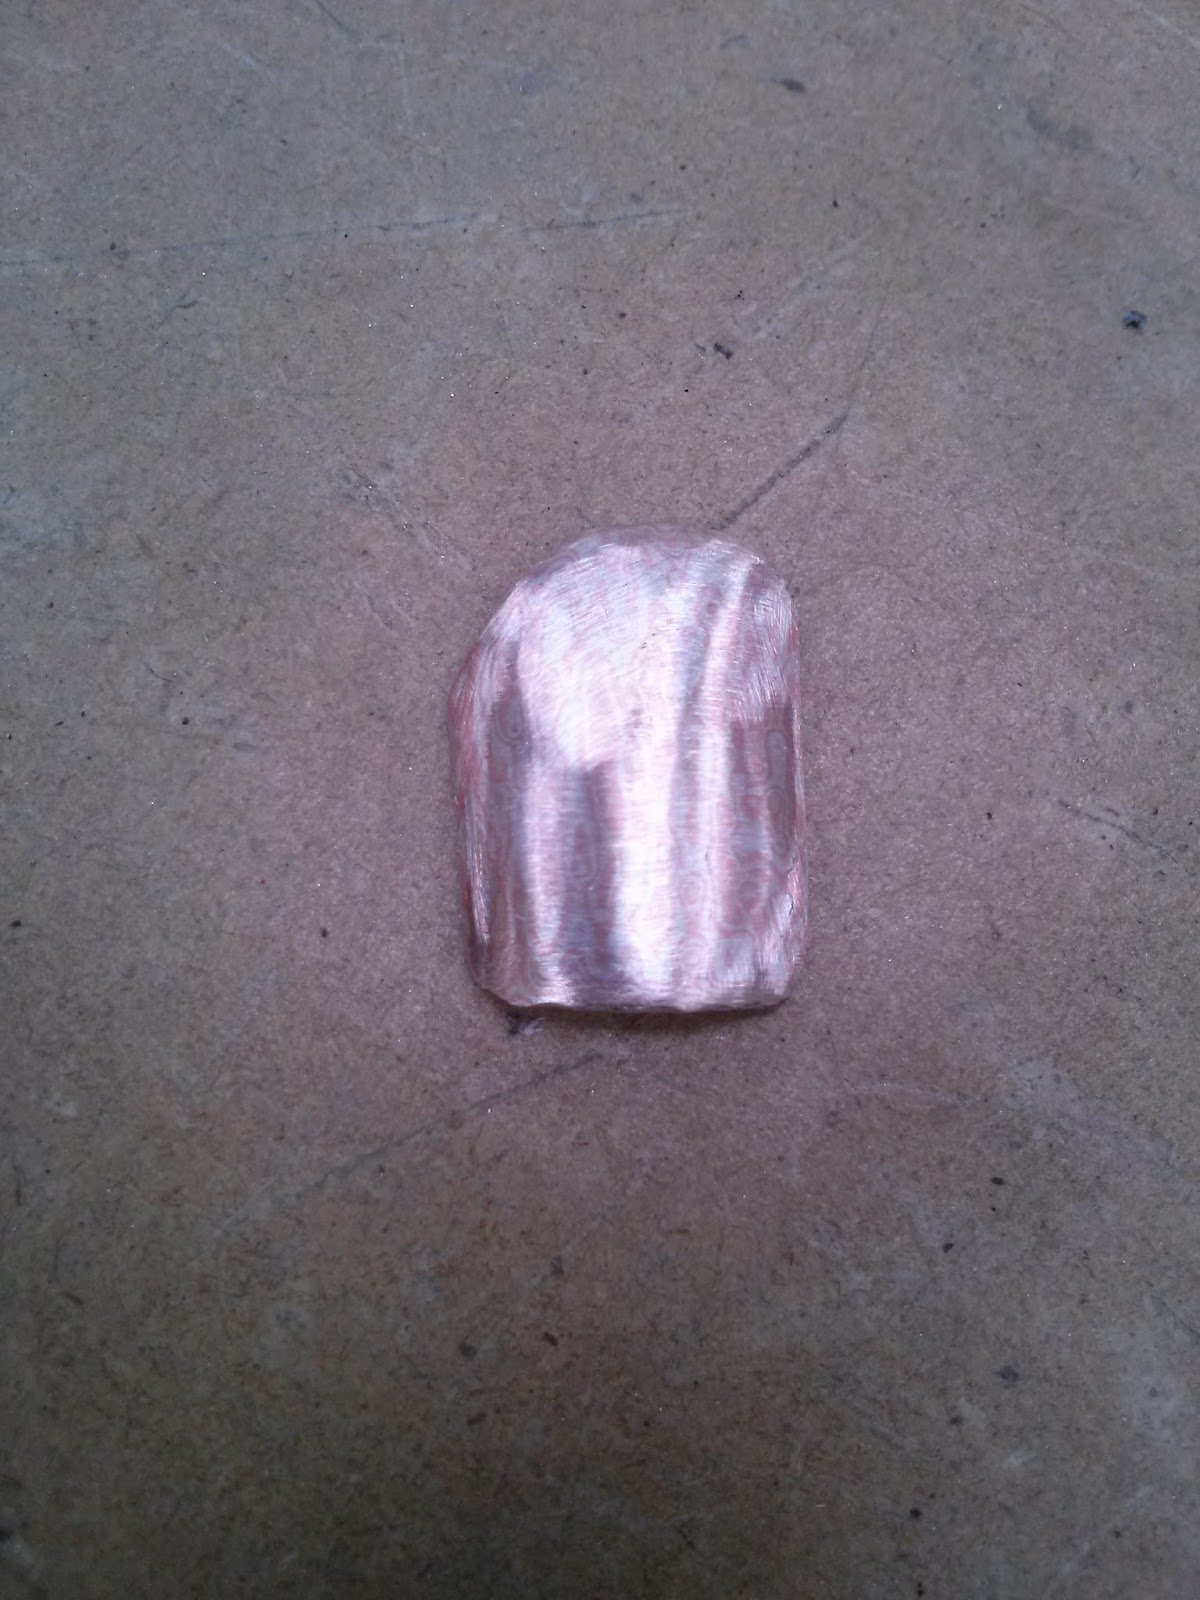
The samples, at the end of the weekend:
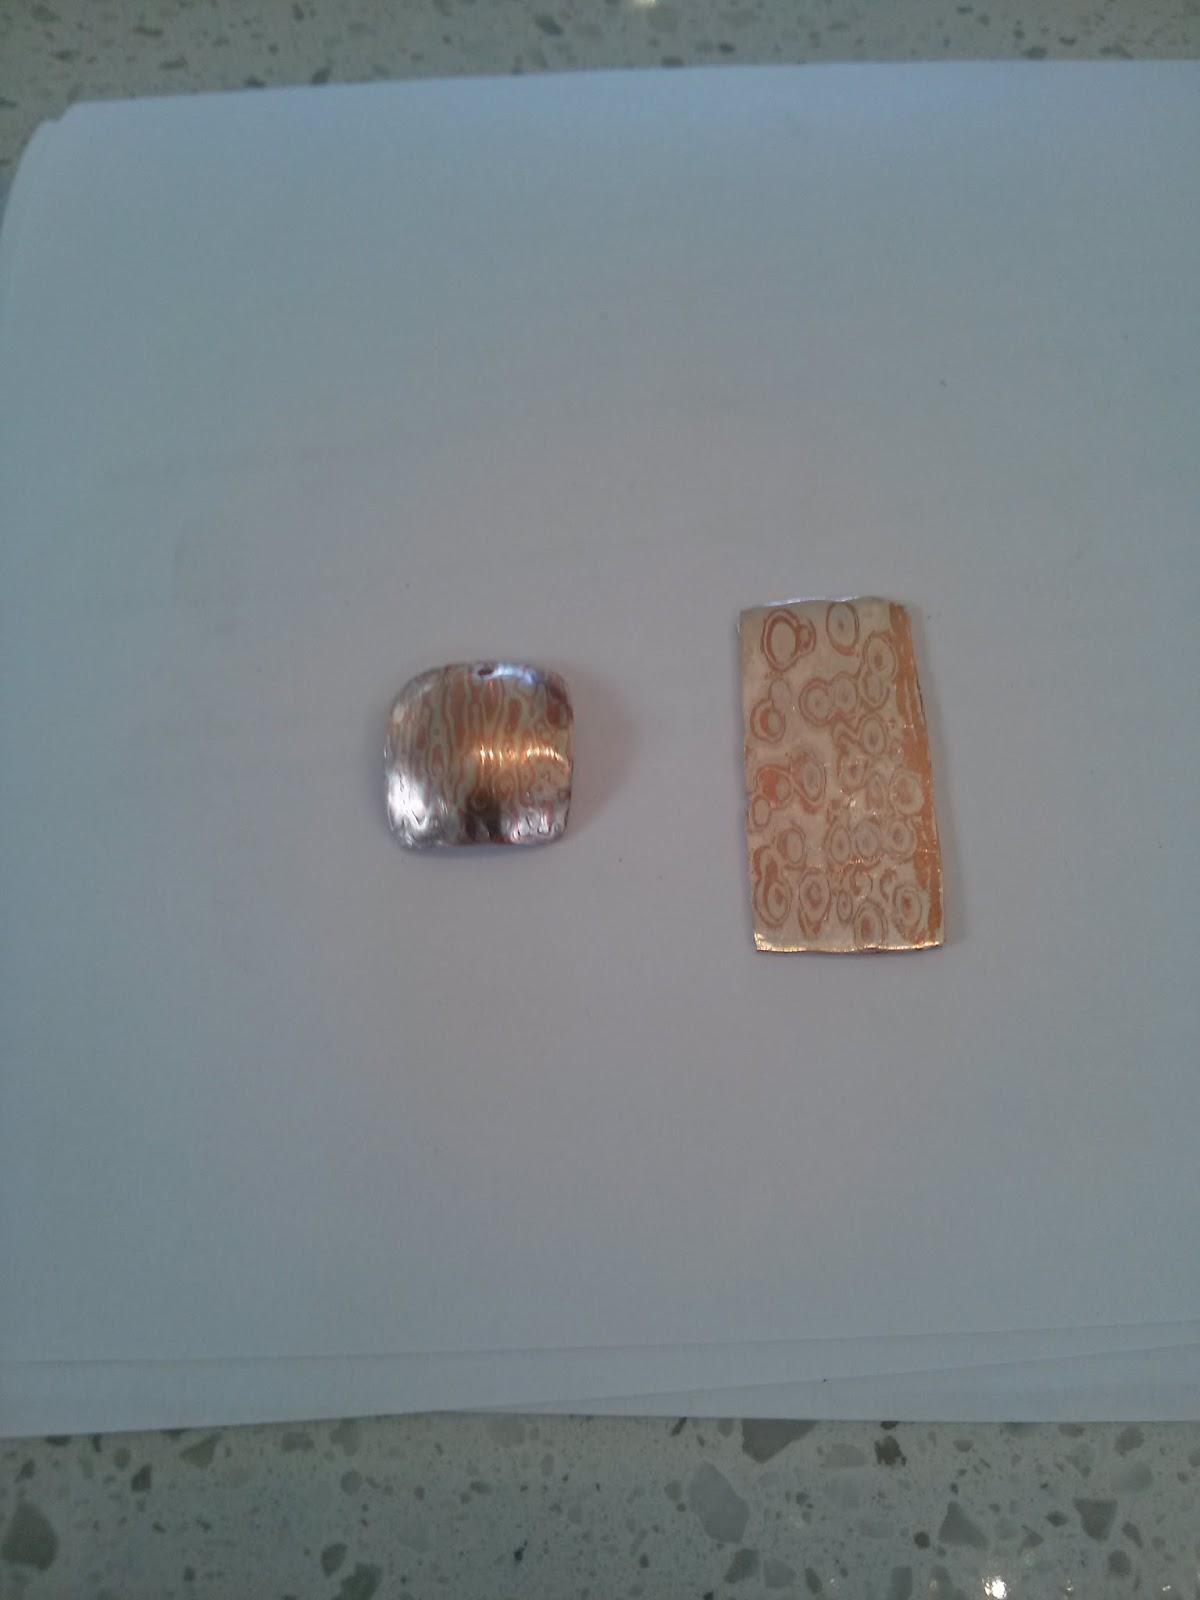
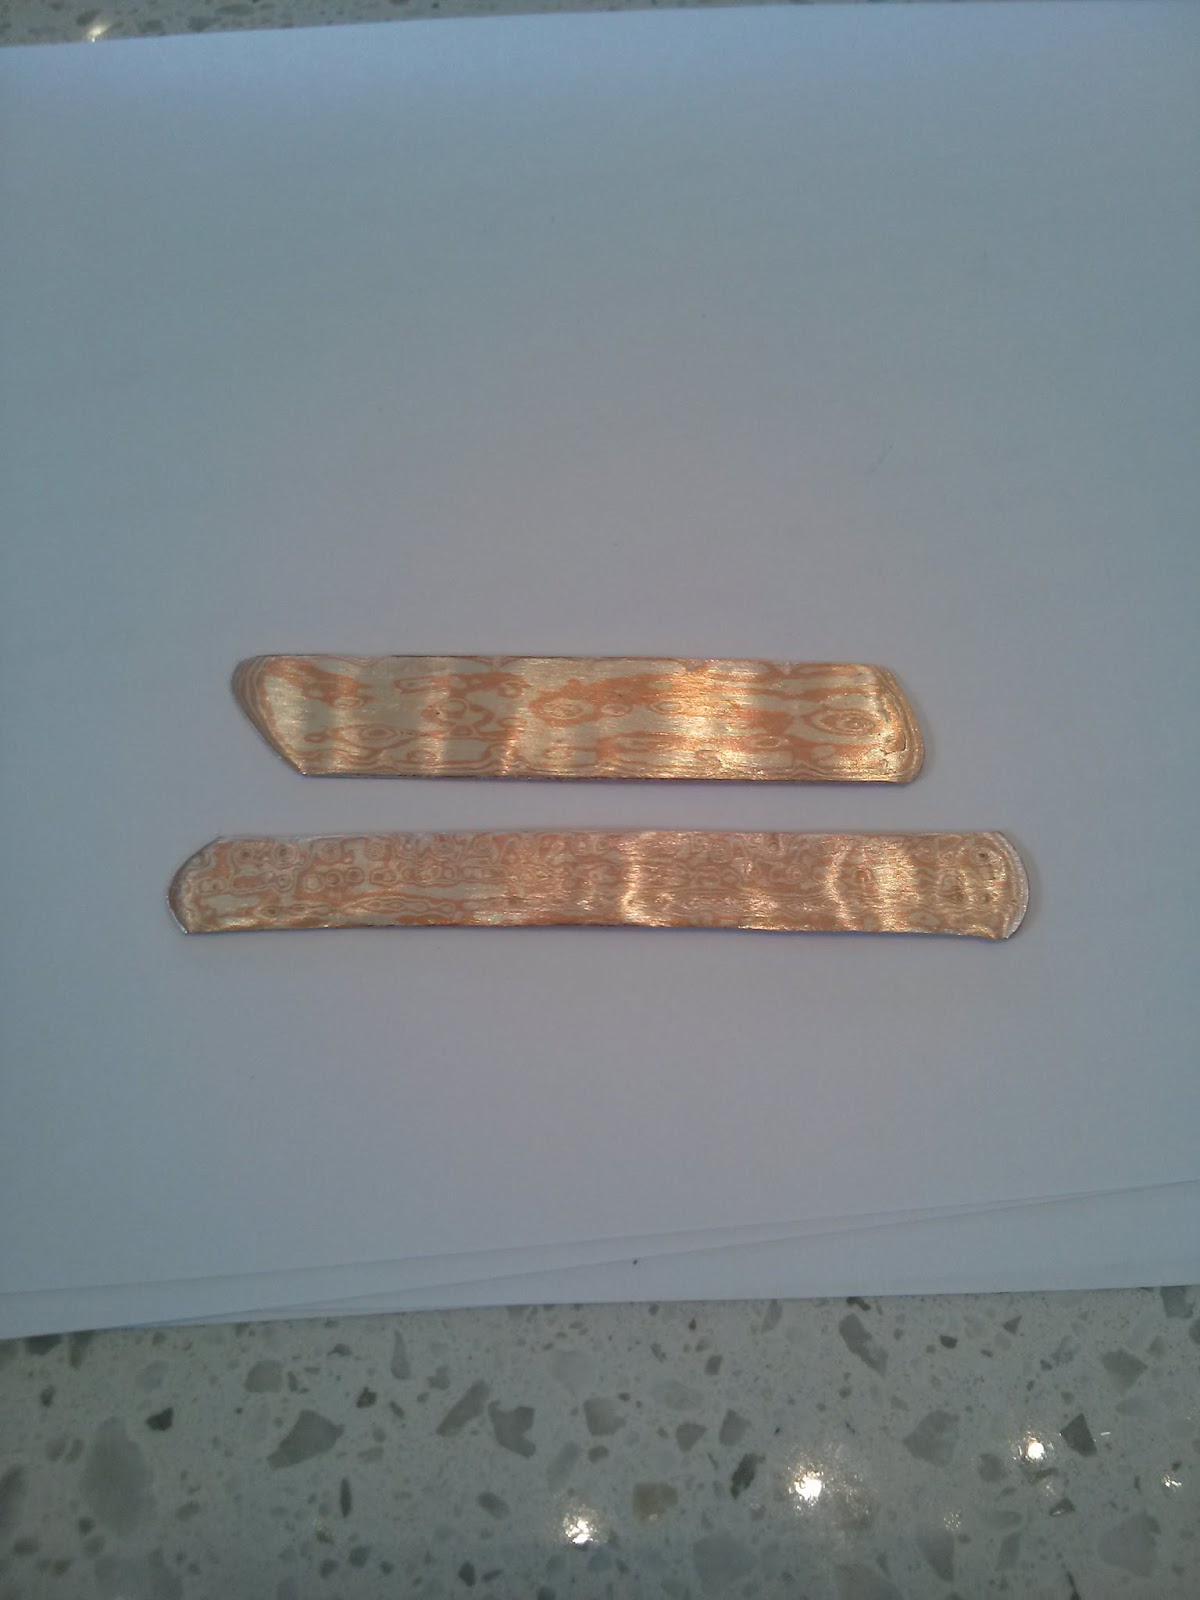
Silvia had some extra time, so she domed her piece (above left). Both of them had great Mokume success, good work ladies! Hope to see you again soon, for another workshop!
Shine Bright Like A Diamond?
Check out this very unique engagement ring inventor Ben Kokes proposed to his now fiance with! It’s titanium with LED lights that illuminate when he is near her. Sounds like the prototype needs some more work but it’s still a really cute idea. Read the full story here!
-Lauren

Rings of Jewel Envy: WORN
 |
|||
| Sterling silver,vitreous enamel on copper, uvarovite ring made by Alexis Kostuk of Glaciale. Uvarovite (the druzy-like gem on the right) is a type of garnet – the colour is even more unreal in person! |
 |
| Studded Spinner made by Amanda Henderson of Jewelust. Sterling Silver. The studded component spins within the ring, a great piece if you love kinetic jewellery (is there anyone who doesn’t?!) |
 |
| Gothika ring by Amber Thomas-Penchoff. Sterling silver. This ring has an architectural look that calls to mind the Iconic Chrysler building – she has even made earrings in this series of work. |
 |
| Play ring by Chia Chien Tsai of Ellolite. Made with a sterling silver formed into a seed pod that has a burst of colour added with resin and sculpey. She has several colour combinations available! |
 |
| Big ring by Gillian Batcher of Pash Jewellery. Sterling silver and amethyst. The angle of the gem placement on this ring makes it a fantastic standout piece – there are a few left in her collection each one big and fabulous! |
 |
| Saucer ring by Iona Alexandra Jewellery. A bold piece made with sterling silver. |
 |
| Thick hammered ring by Lauren Hanham. A sterling silver band with a satin hammer finish – the texture is subtle and lovely in person. |
 |
| Ring by Sasha Oda. Sterling silver ring with a unique tribal style. |
 |
| Bridge ring by Young Ko of Koko Bijoux. Sterling silver and citrines. The cut and colour of these gems are spectacular. |
Please drop by for a visit to try any of these and other rings on yourself!
FORGE AHEAD
Hello everyone!!
I made some wire today, and thought I would share my process with you. Knowing how to make wire can save your butt in a wire emergency, and it is also a great way to reuse your old metal.
Cut your metal into small pieces, and make sure it is clean and free from solder and other contaminants. Dig a tunnel in your charcoal block, and heat the metal until it is molten. Now you have a blob.
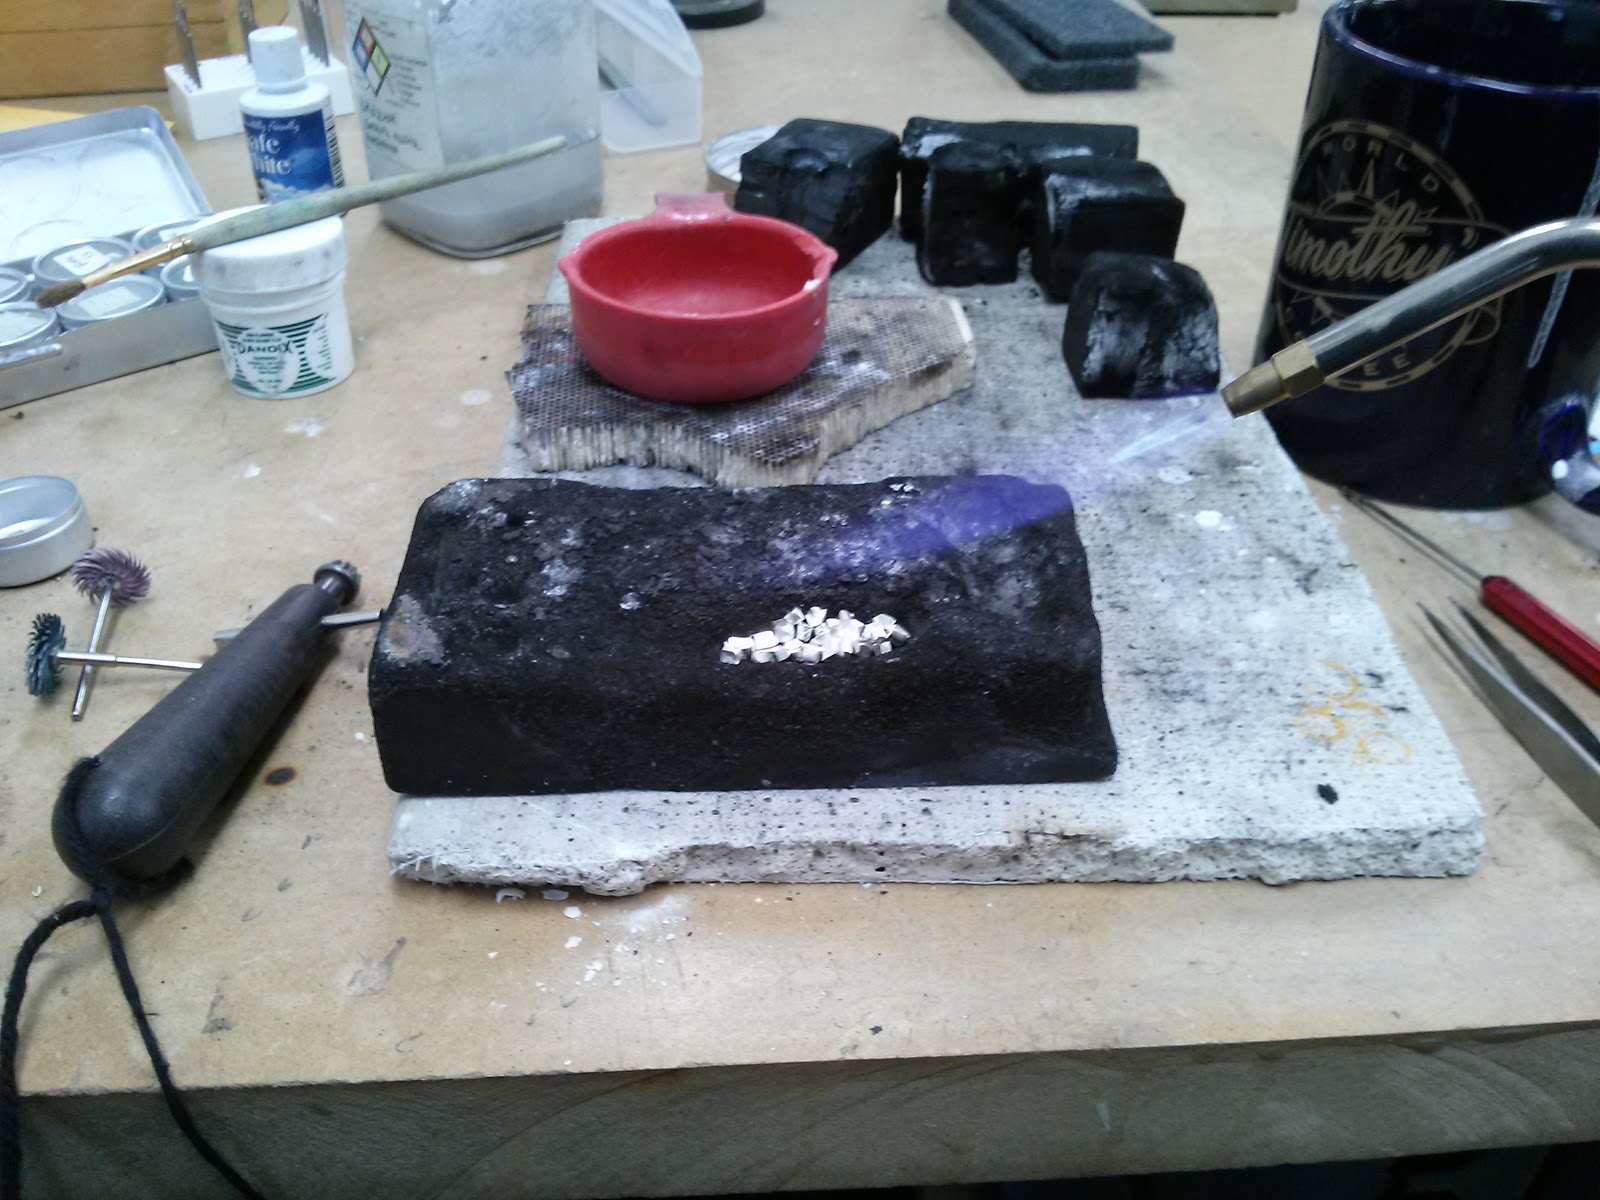
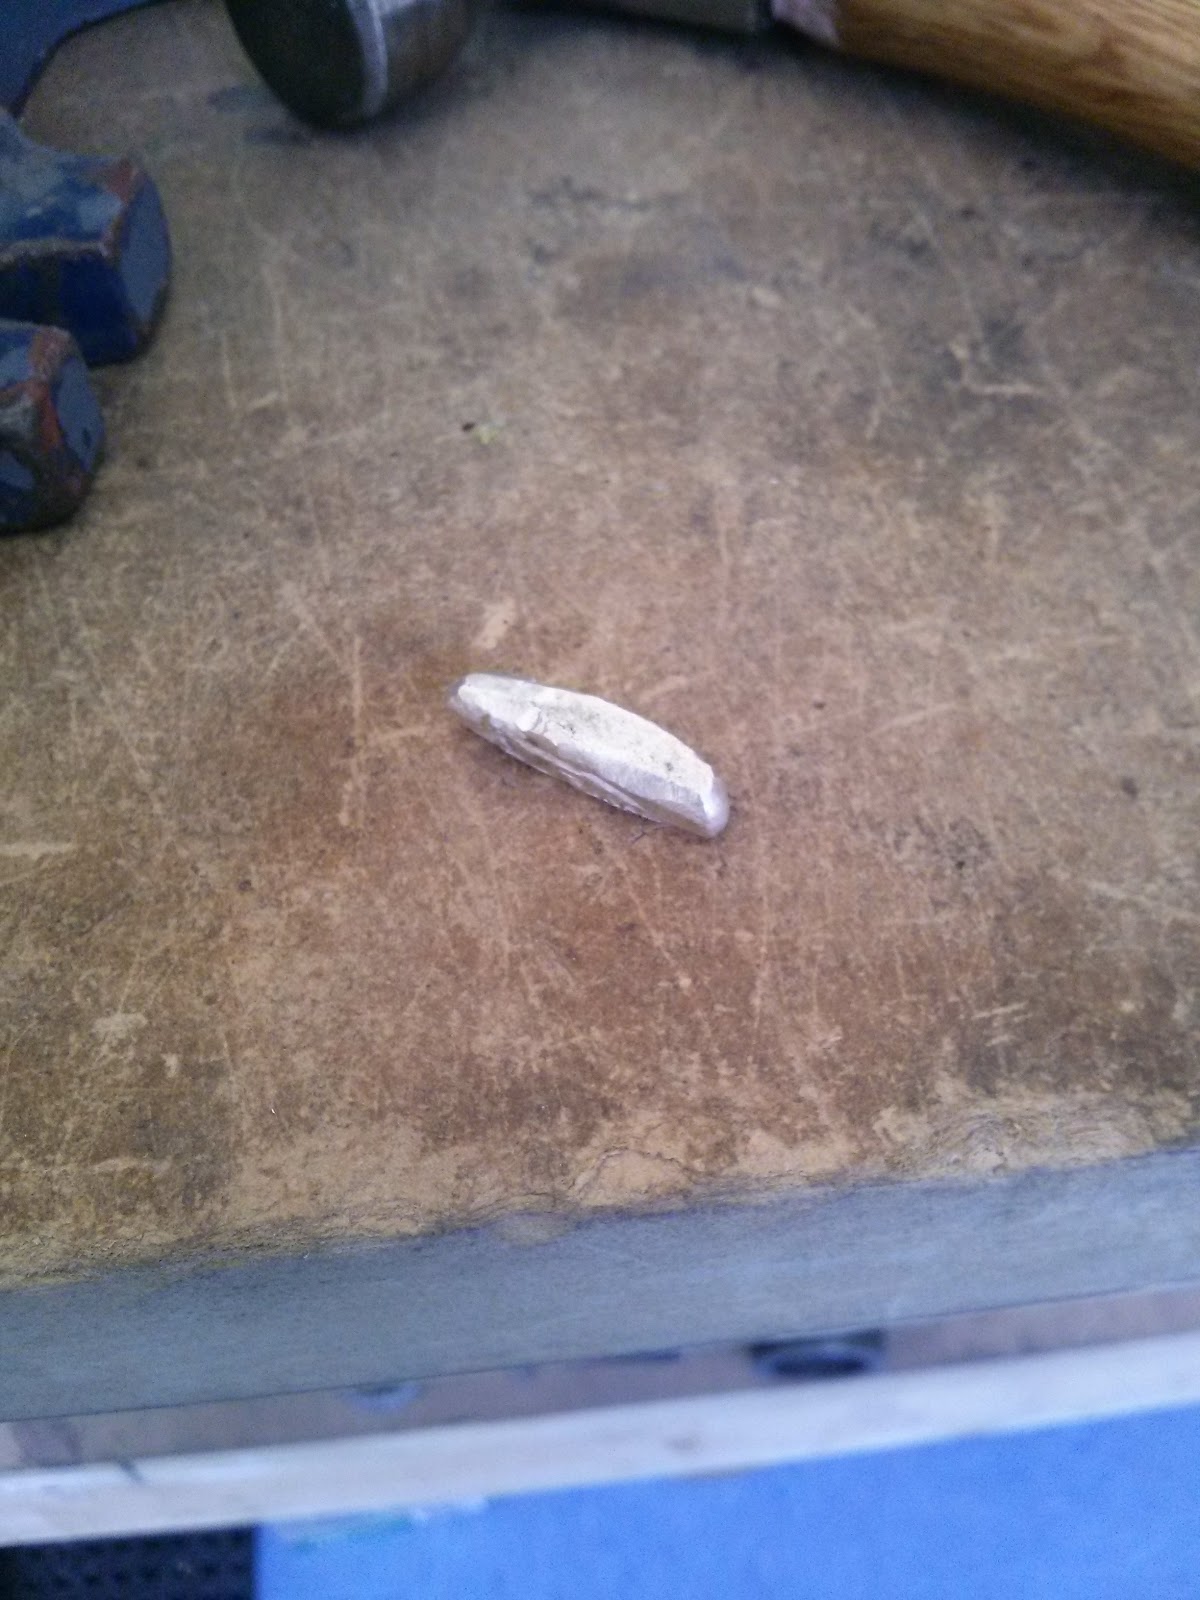
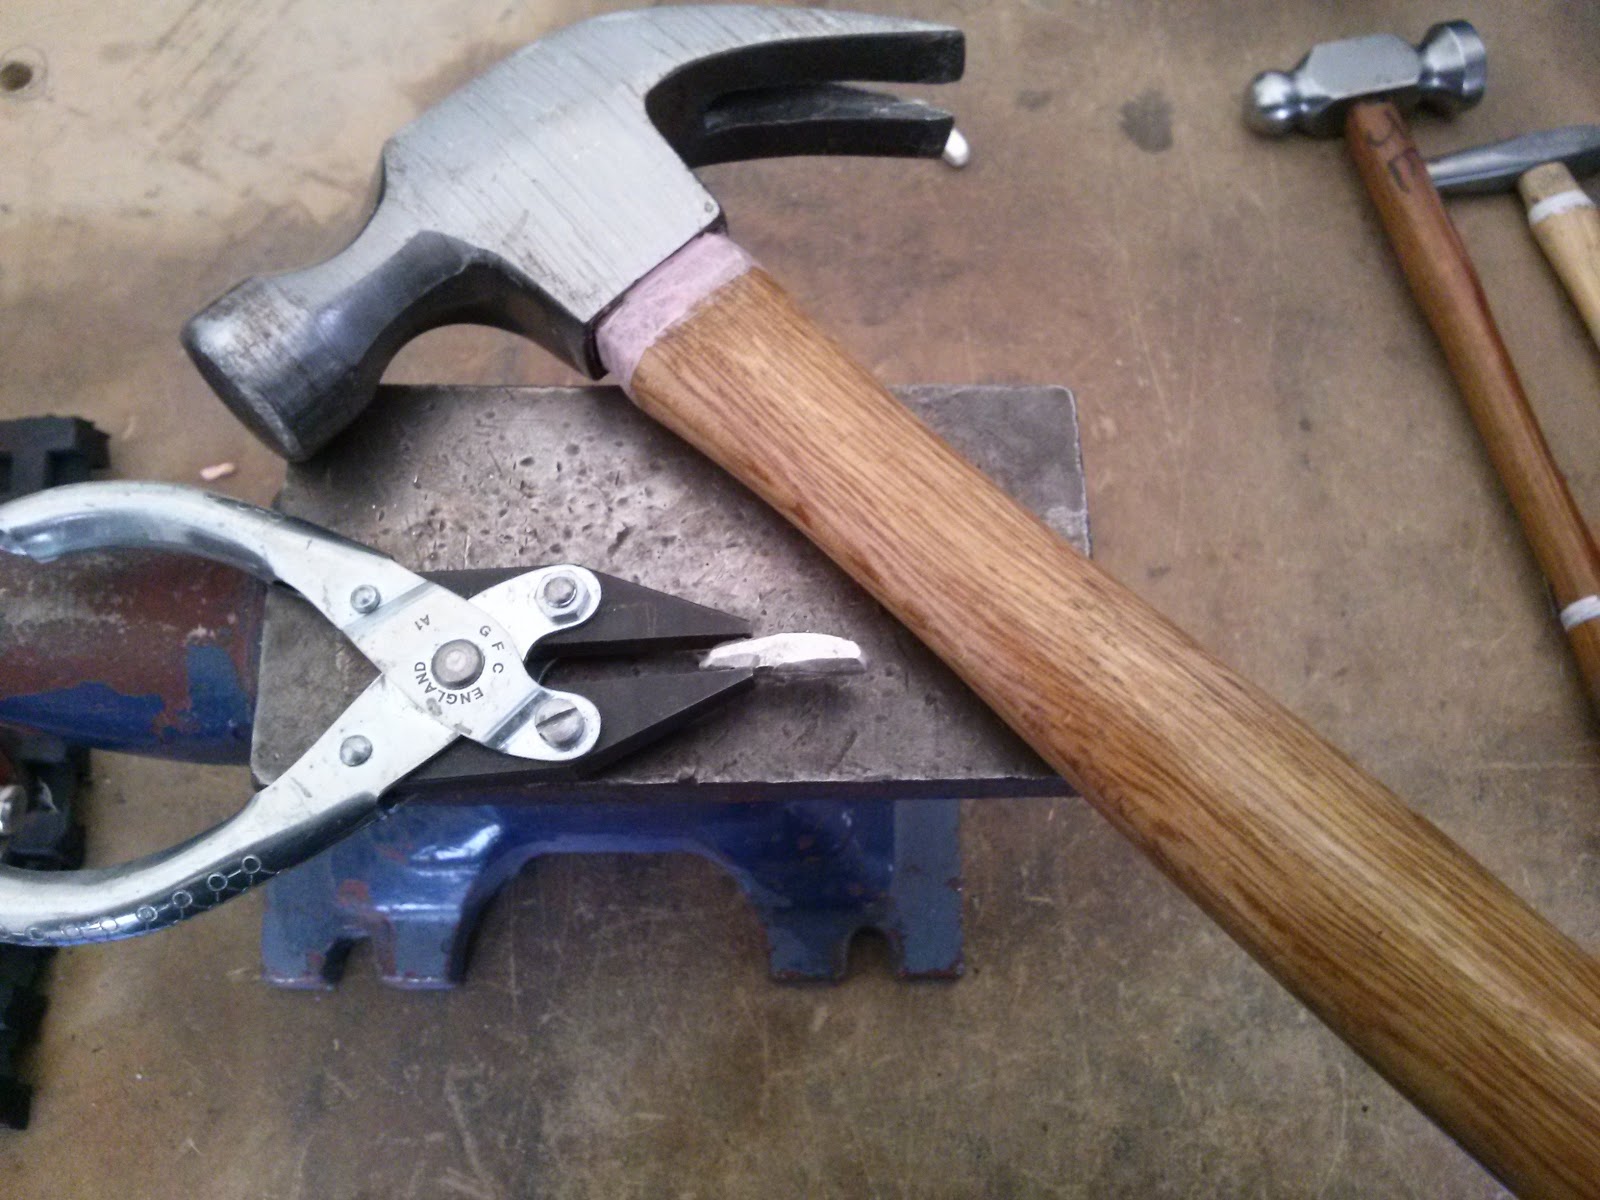
Next: it’s hammertime! You should forge this blob with a heavy hammer, to compress the metal and avoid porousity. Hold the blob in place with pliers, not your hand!!! Unless you enjoy hammering your fingers, in which case don’t listen to me. Hammer on all sides, until the blob is slightly rectangular in shape. And don’t forget that safety comes first, so wear your goggles and ear protectors!
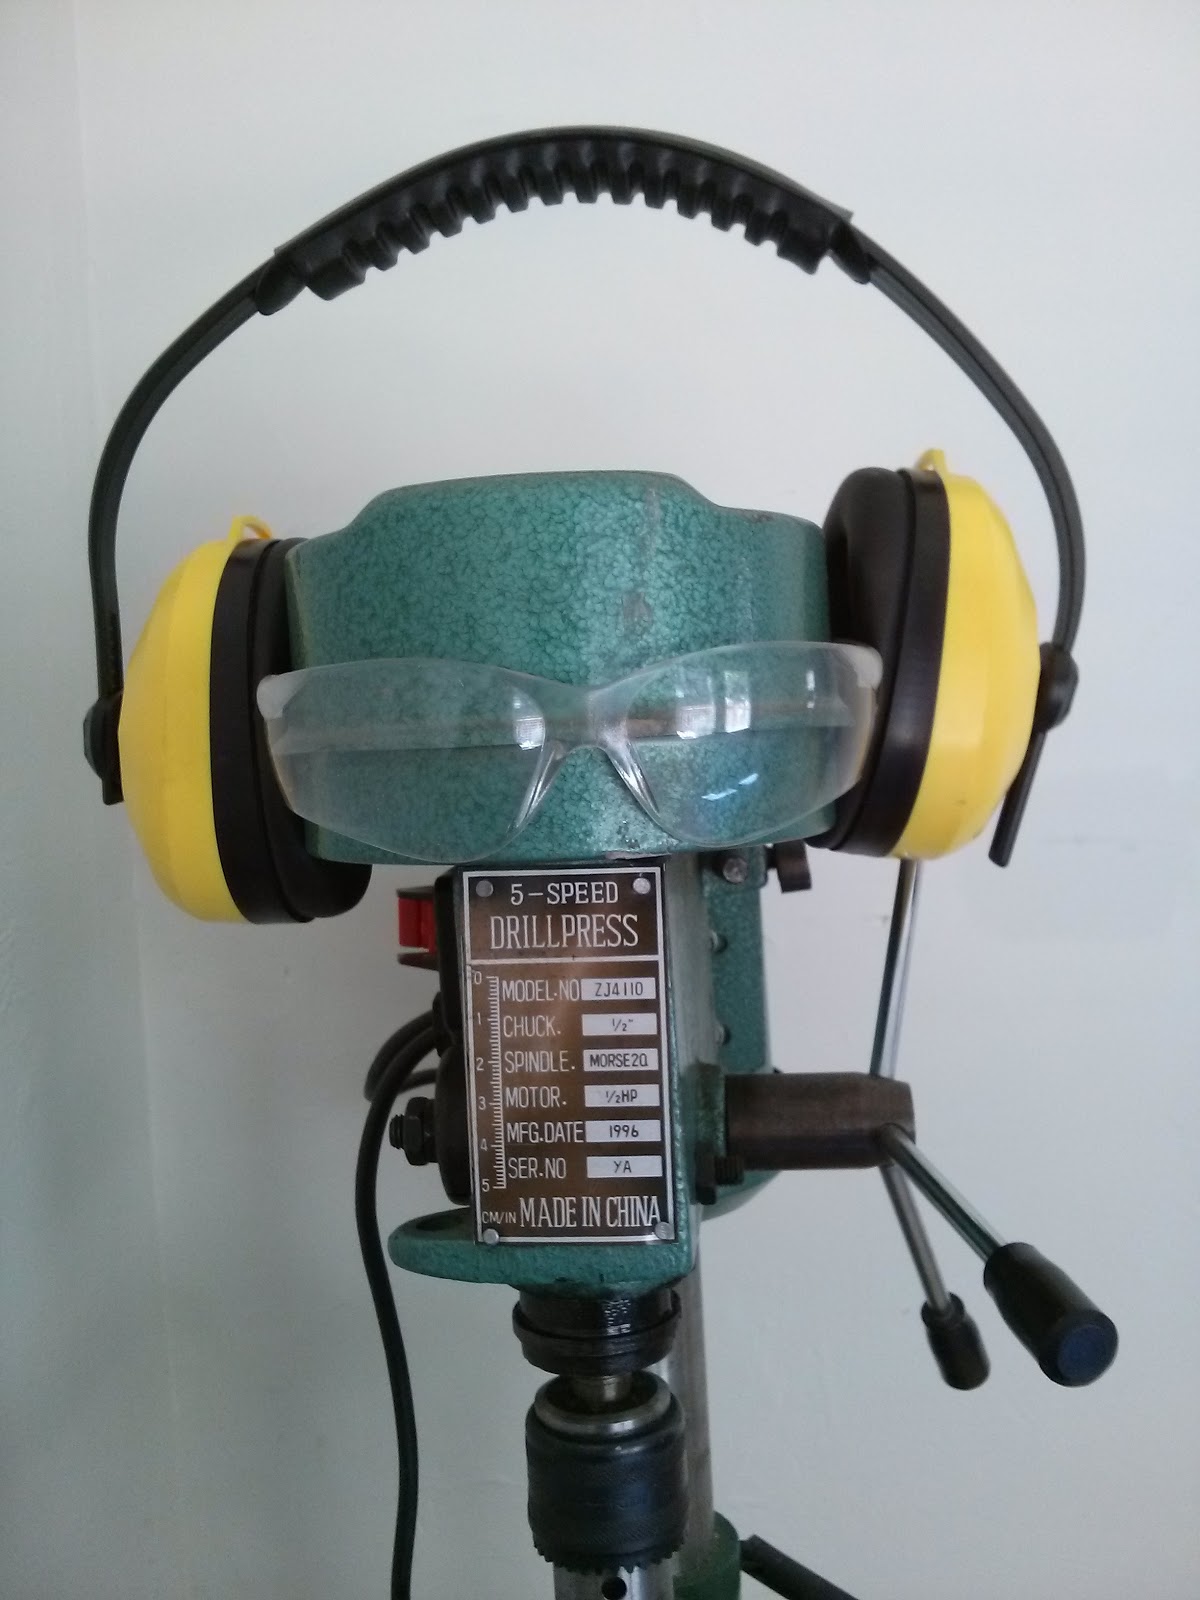
Also, keep in mind that this is the face I make when I hammer metal:

Be kind to your metal, and make sure to anneal every few hammer rounds. You should also be removing any cracks in the metal with a ball bur. This will prevent them from getting any bigger.
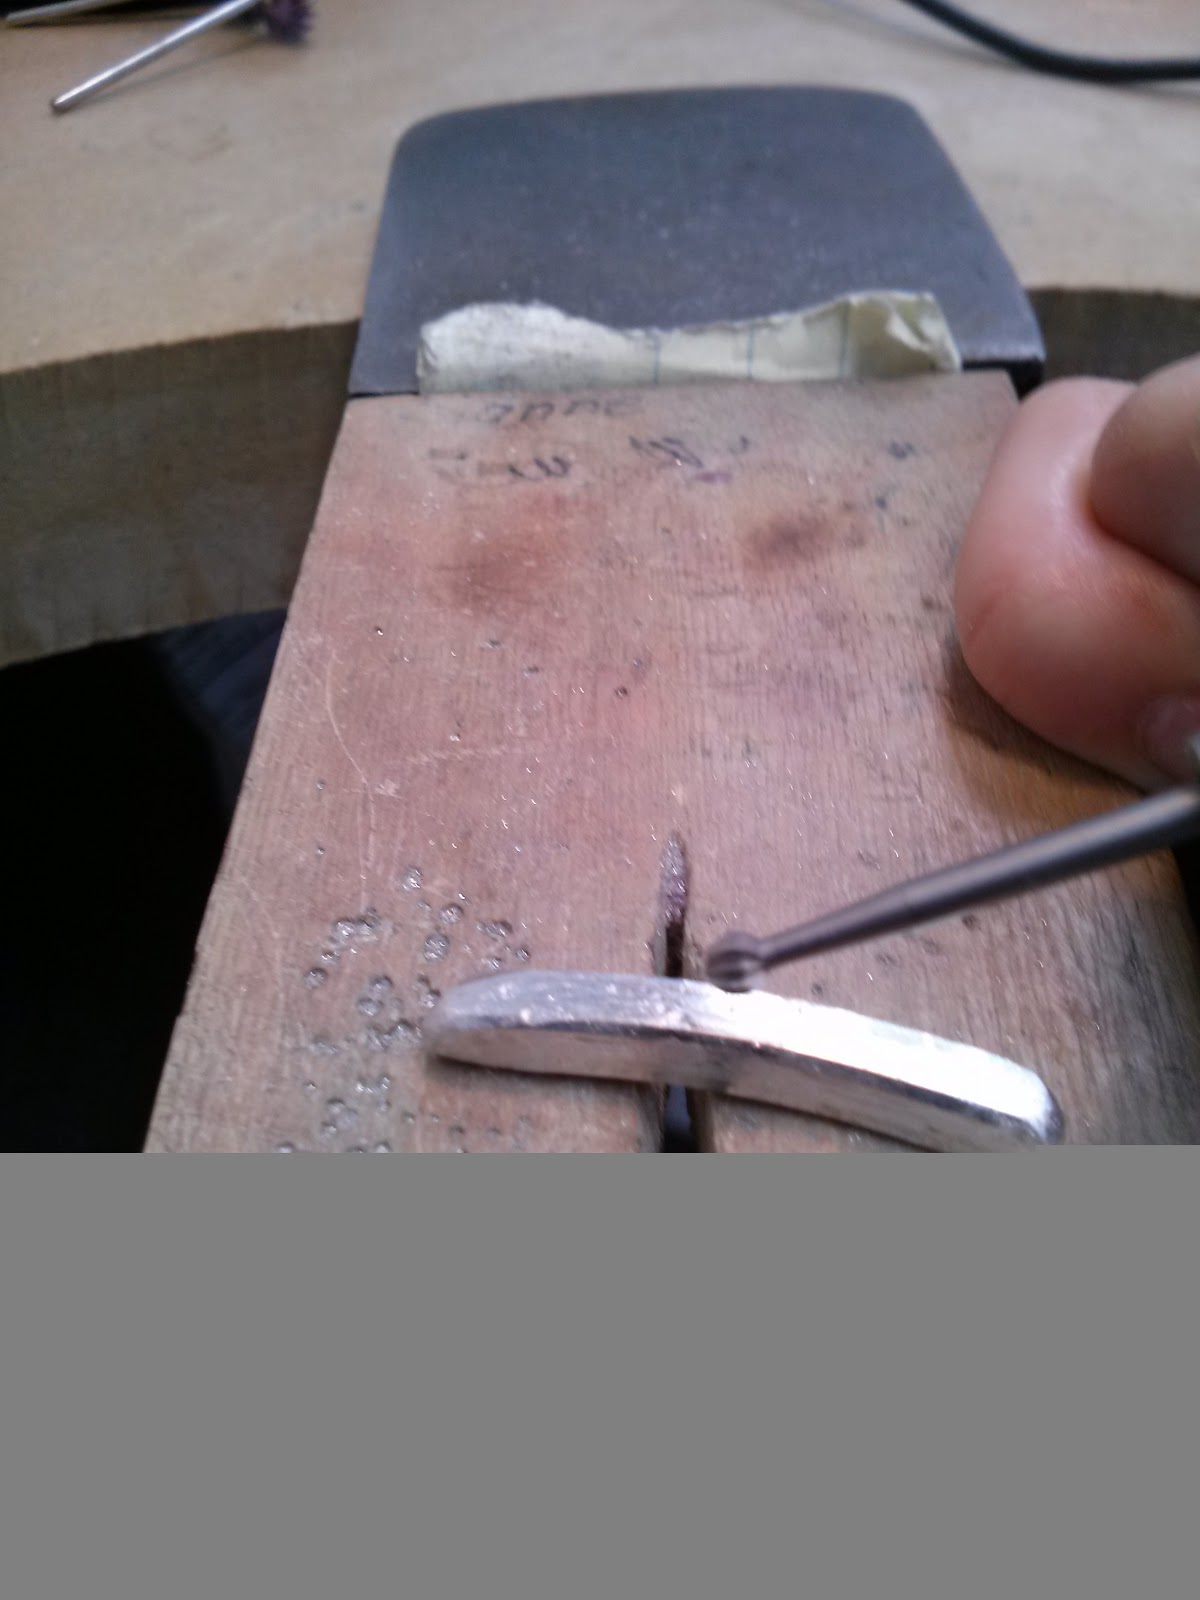
Once you’ve gone a few rounds with the hammer, you can start rolling the metal through the mill. I like to use the square wire roller.
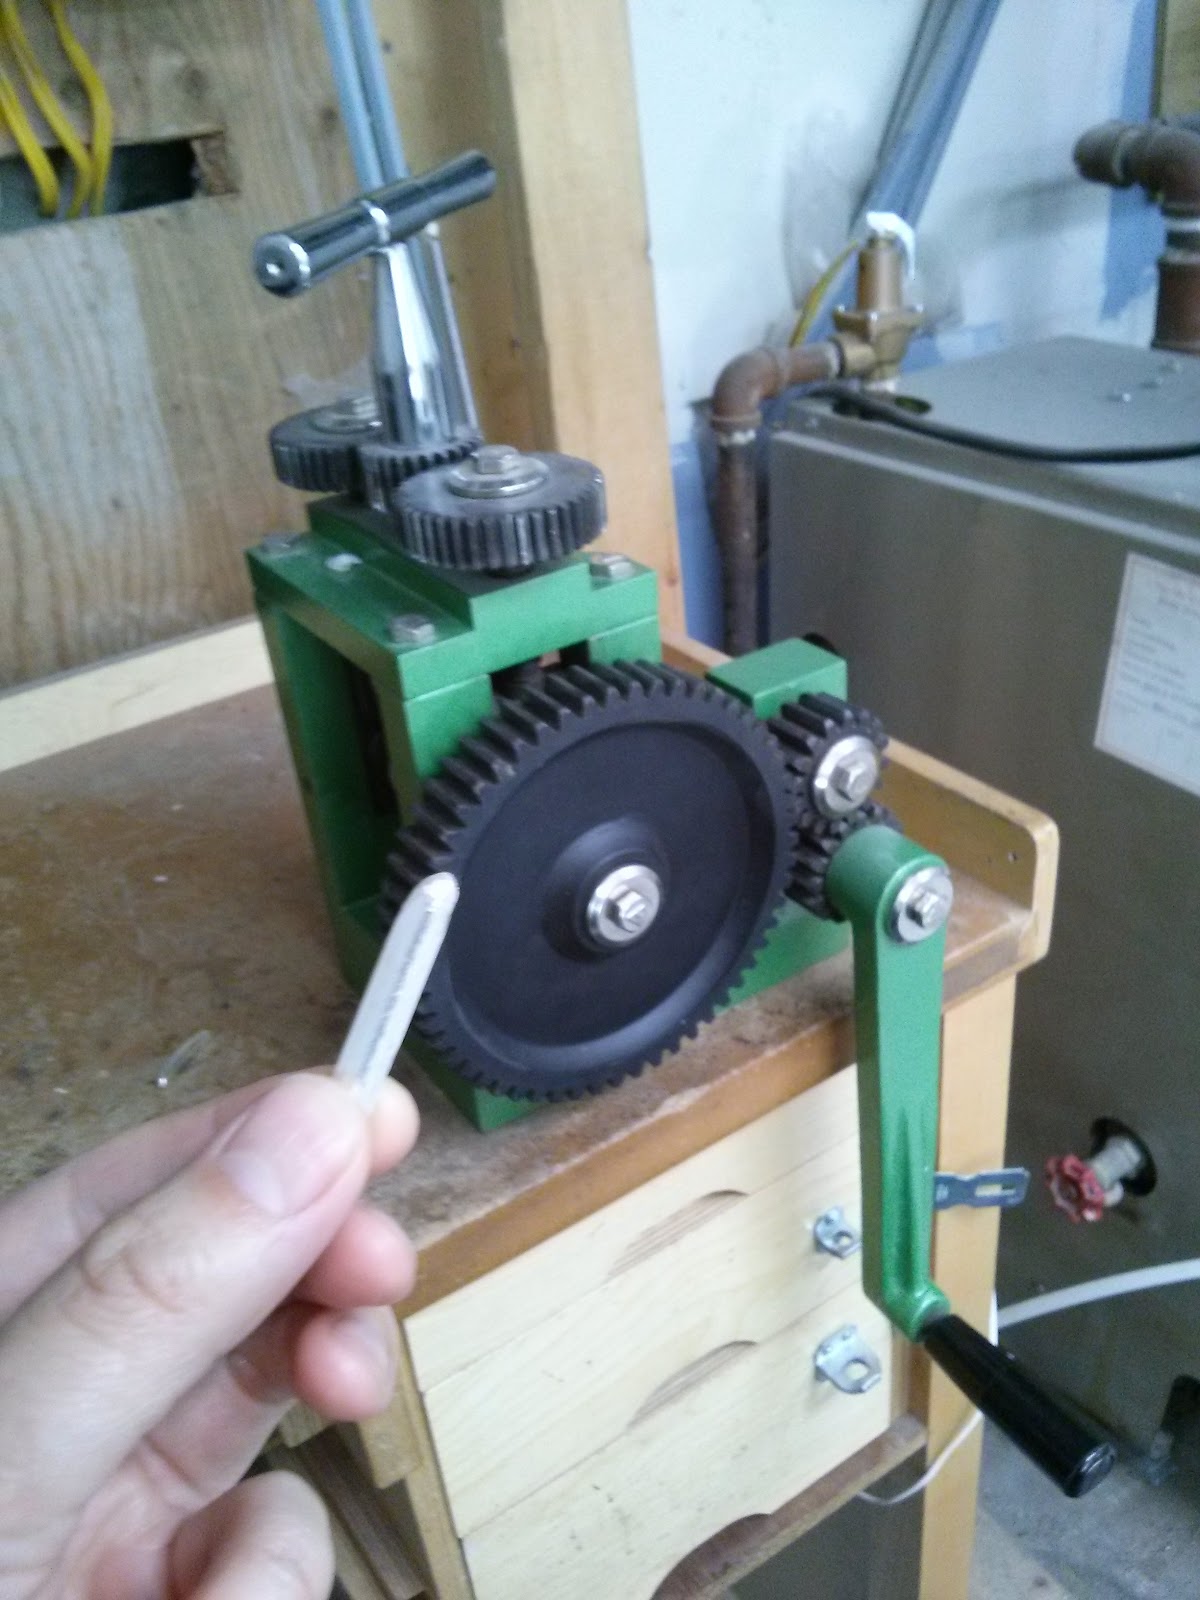
Once the diameter of the wire is small enough, you can start using a draw plate. Don’t forget to anneal!!!

And voila! Wire.

New Life Exhibition
It is hard to believe it has been almost a month already!
The last day of our exhibition, New Life, is May 31. Only one week away.
It was really great to see everyone at the opening, and throughout the month and to discuss the different interpretations of “new life”.
Here are three pieces in the exhibition:

Disguise Kit by Amanda Henderson (me!) is about starting a new life incognito, and was inspired by Groucho Glasses, the plastic disguise kit. This kit consists of sterling silver reading glasses, a gold-plated sterling silver and stainless steel mustache septum ring, and a ceramic nose stand. It is a continuation of my Sweet Movember line of mustache-themed jewellery that I sell to raise money for prostate cancer. (www.facebook.com/SweetMovember) Fool your friends!
Rafi Sativus II by Sasha Oda
Rafi is a small snail with big dreams. Little did he know that nature had other plans for him. While he slept underground, a plant pierced his larvae and he was forever changed. This sculpture was inspired by the Japanese word “tôchûkasô” that translates to “winter insect summer grass”. This word encompasses the entire concept of a growing plant unexpectedly crossing paths with the larvae of an insect.
Octobaby is Chia-Chien Tsai‘s vision of a hybrid organism. The octopus tentacles store nutrients and have magnetic abilities. The upper half of Octobaby is human. His brain, body, and arms and legs are used just like ours.
Come in this week, and discuss these and a lot more with us!
Amanda